5 Golden Rules for a Flawless Caulk Job (Every Time!)

If there’s one superhero product of the DIY world, it might just be caulk. Want to cover up seams before painting your newly hacked IKEA BILLY bookshelves? Caulk. Want to finish any joints between wall and countertop, or wall and tub? Caulk. Need to seal up gaps around door and window frames to prevent bugs or drafts from sneaking in? You guessed it: Caulk.
There’s a unique type of caulk for each type of project, but all will generally cost you under $15 a tube. Not a bad deal, considering how impactful a little caulk can be! But regardless of the project, there are a few steps you should follow to see the best results. Here’s what the experts say are the golden rules for a perfect caulk job (every time!).
Use the right caulk for the job.
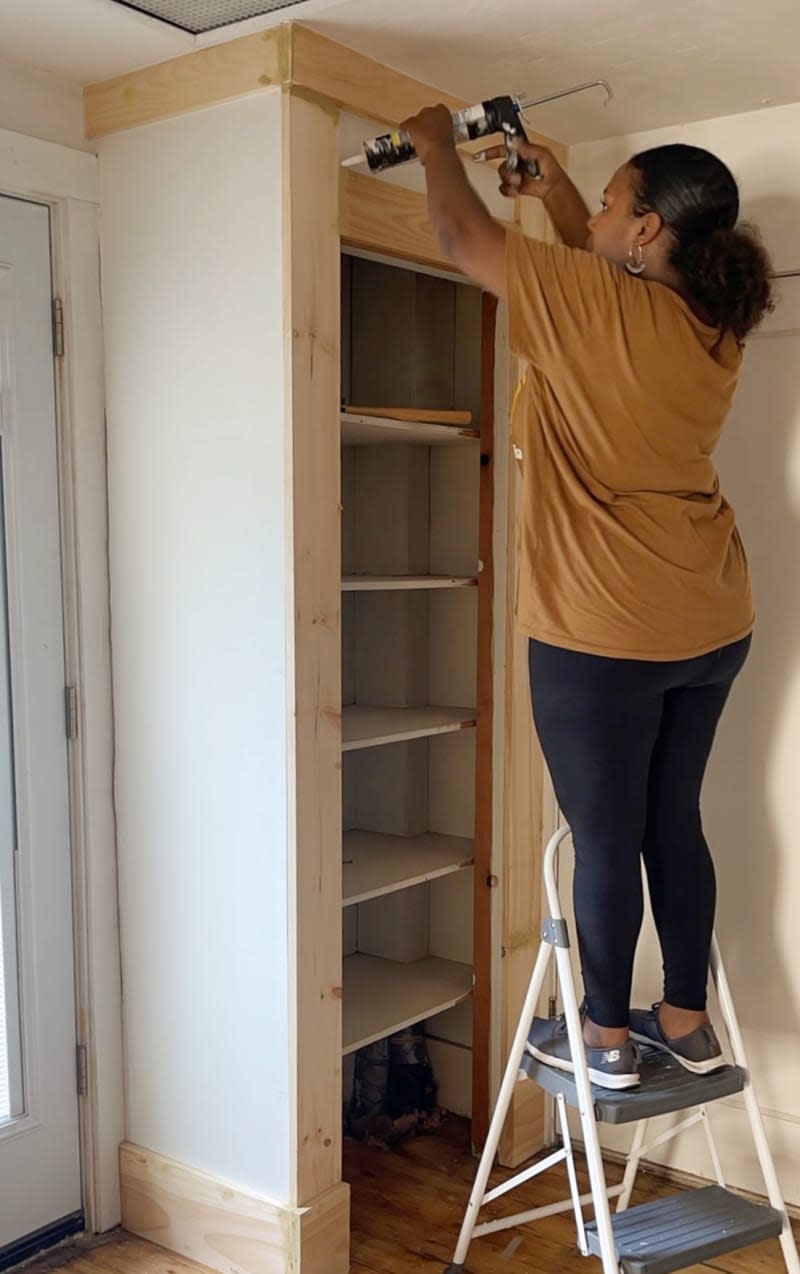
“Caulk” encompasses a wide range of sealant types, and not all are a fit for every project. An acrylic latex caulk that’s paintable will be your best bet for gaps around doors and windows, as well as filling in seams on any built-ins.
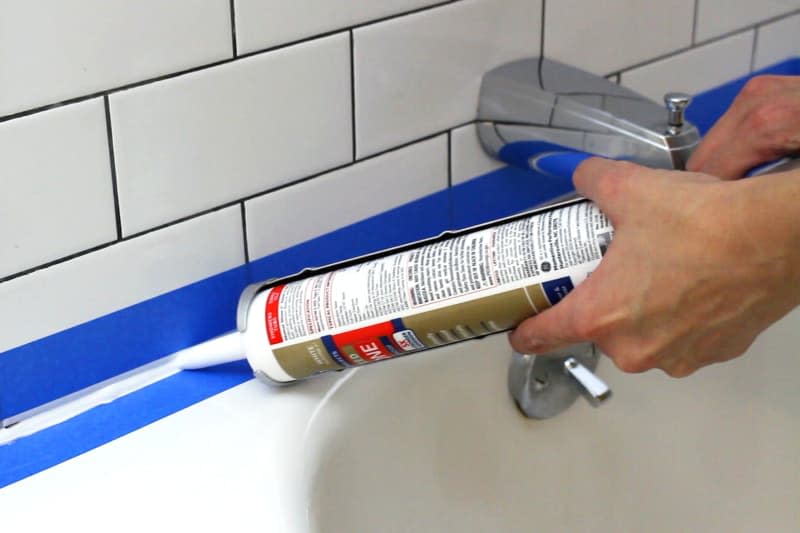
But to caulk around a bathtub, an area that’s exposed directly to water as well as lots of humid air, you’ll need a silicone caulk that has more waterproofing and mold resistance.
To set yourself up for success, make sure to read the tube before purchasing to ensure you’re buying the right kind of caulk for your project. Look for a caulk that’s not only a fit for the location of your project, but also a fit for the size of the gaps you’re looking to fill — anything wider than a half inch will require a caulk formulated for wider gaps.
You’ll need some accessories.
Aside from a tube of caulk, there are a handful of helpful tools you should have on hand to make your project, ahem, seamless.
“I recommend a multipurpose caulk tool, like the Husky 3-in-1, because it features a steel caulk remover, a smoother with a customizable radius, and a built-in scraper for easy cleanup,” says Michael Garvey, a merchant of adhesives at the Home Depot. “It’s compatible with acrylic, latex, and silicone, making it a handy addition for window, bath, and shower projects.”
He also suggests getting disinfecting spray (or rubbing alcohol) to clean the area, foam tape to backfill a large gap, and painter’s tape for a neat line.
Erika Wasilewski, the DIYer behind Peony and Honey, likes to have paper towels or a microfiber cloth to clean up any spills along the way, too.
If you’re using caulk in a cylindrical tube, you’ll also need a caulk gun to be able to apply it. The tool pushes the bottom of the tube to evenly squeeze out the material inside. Make sure to check that the caulk cartridge is secure before getting started.
Never apply new caulk over old.
It’s not a good idea to put a new caulk on top of an existing seal if you’re looking for smooth results. So if there’s any existing caulk in your way, you’ll need to scrape it up.
To start, clean the area with disinfectant or rubbing alcohol, removing any grime or debris along the way. Then go in with a pointed tool to pull up the old stuff.
“I use either a flathead screwdriver or a caulk remover tool to peel it up,” Wasilewski says, but Garvey notes that a utility knife can work, too. Once the old caulk is cleared away, rinse the area thoroughly and wait for it to dry.
Always work at a 45-degree angle.
While the type of caulk you use depends on the project, the application process is generally the same.
First, cut the tip of your caulk’s tube. You can use a utility knife, but there’s also usually a snip on your caulk gun, too.
“Place the nozzle at a 45-degree angle in the middle of the joint. Always start on one end of your project and strive to work in a steady direction,” Garvey says.
Here’s how to apply caulk, once you’ve got the angle down.
Slowly squeeze the trigger on your caulk gun to push the caulk into the gap.
Pull the nozzle down the joint smoothly for one even bead. You don’t want big gobs — you want straight lines with a similar depth. Work quickly but carefully.
After the caulk has been applied, smooth out the bead with a finishing tool or a damp cloth. While it’s tempting to use your finger, doing so won’t guarantee an even line.
Be patient when it comes to paint.
Check the packaging to note how long it’ll take your caulk to dry and cure, which Garvey says are two important distinctions. “Curing takes more time than drying,” he says. “However, there are quick-drying caulks available.” Those will allow you to paint or even use the area, although you’ll want to be careful to avoid touching the caulk directly to prevent messing up your straight lines.
Later, you can use the same tools that cleared out the old caulk work to tidy up any uneven edges. “The good news about caulk is that if you mess it up, you can let it dry and then remove it again,” Wasilewski says.
If you have leftover caulk, keep it from drying out by using a plug or a nail on the opening of the tube to maintain its moisture, Garvey says. Then wrap the nozzle in plastic wrap or aluminum foil, and you’re all set for the next project on the horizon.

