This is the best Windows 11 tool you're not using — and it will save you a ton of time
The Always On Top PowerToy on Windows is incredibly useful. If you've never heard of it before, this Windows Shell extension essentially pins a selected open window to the top, meaning it's always visible, even if you click on another window.
This is super handy if you have an app you use so regularly, even switching with a fast navigation tool like Task View is too slow. Apps like the Windows Calculator or Slack, for example.
Now, the benefits of Always On Top can also be had with dual screens or larger monitors using snapping — essentially, if you have lots of space, you don't need Always On Top.
But, if you're using a single and/or small display, where snapped windows will be too small, Always On Top comes up trumps. Always On Top will also keep an app on top when you enter full screen video mode using another app, like YouTube.
Want to learn how to get and use Always On Top? All you need to do is read on.
How to use the Always On Top PowerToy on Windows 11
Always On Top is part of Microsoft PowerToys, which you'll need to install before you can continue with this guide. We can show you how to get Microsoft PowerToys on Windows 11, if you need a pointer.
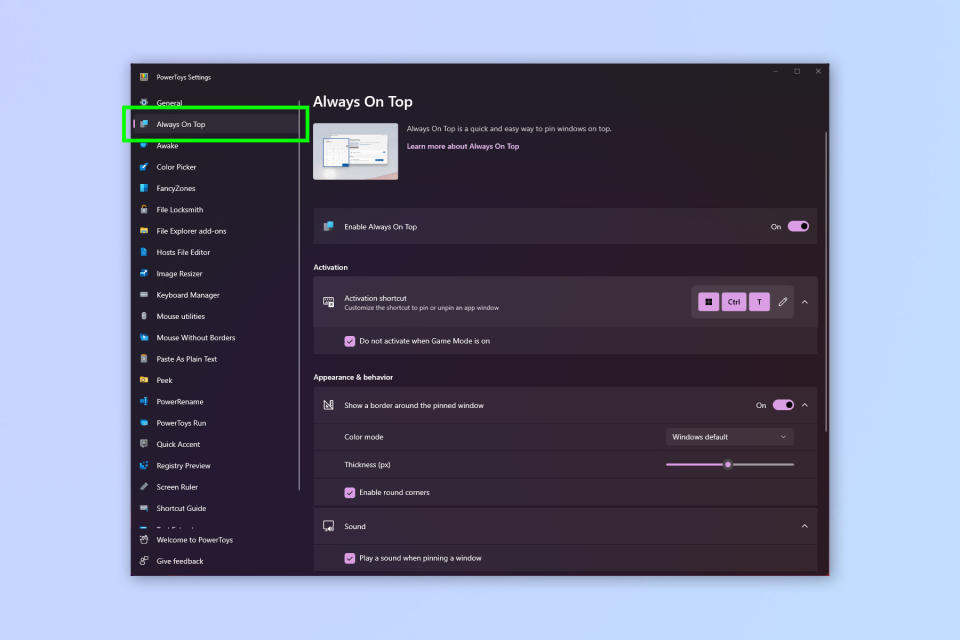
1. Go to PowerToys > Always On Top
(Image: © Future)
Open the PowerToys app via the Start menu, then click Always On Top.
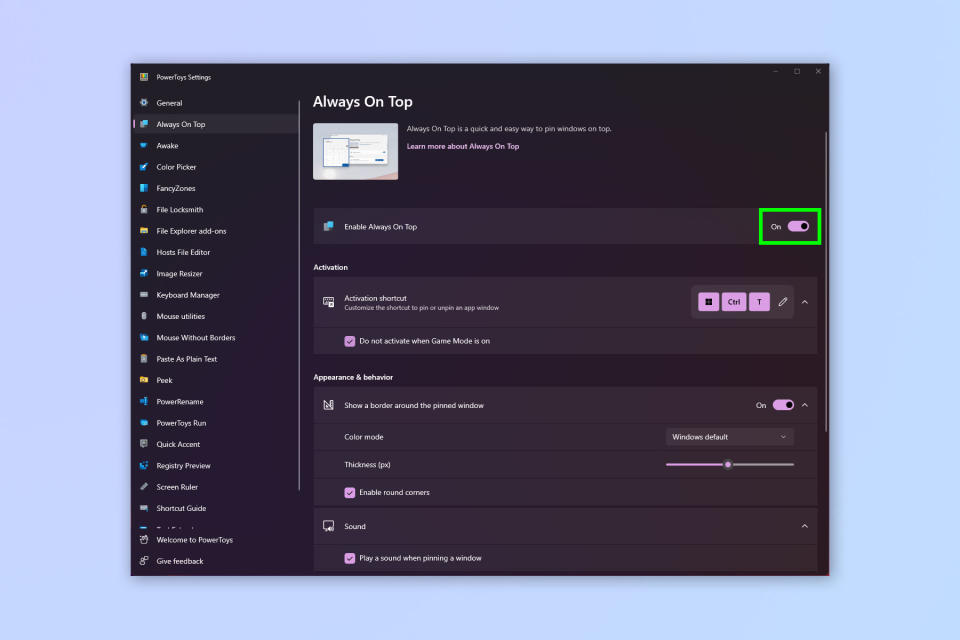
2. Toggle on Always On Top
(Image: © Future)
Toggle on Enable Always On Top.
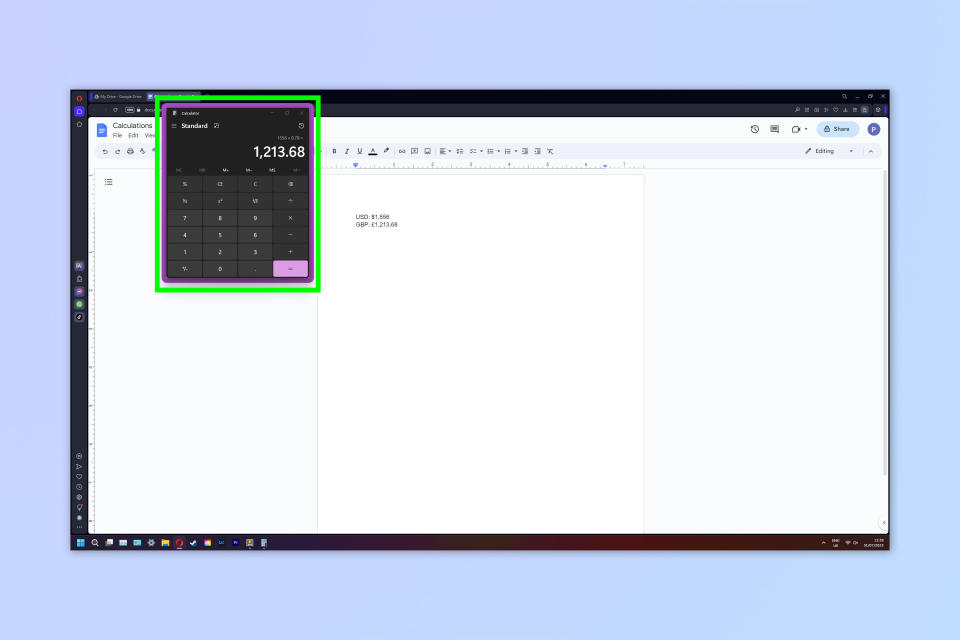
3. Press Win + Ctrl + T
(Image: © Future)
With a window open that you want to pin to top, press Win + Ctrl + T. By default a border will appear around the window to show that it is pinned to top.
4. Change keyboard shortcut (optional)

(Image: © Future)
If you'd like to change the activation shortcut, go to the Always On Top PowerToys menu, click the Activation Shortcut box and press the keys you'd like to use instead.
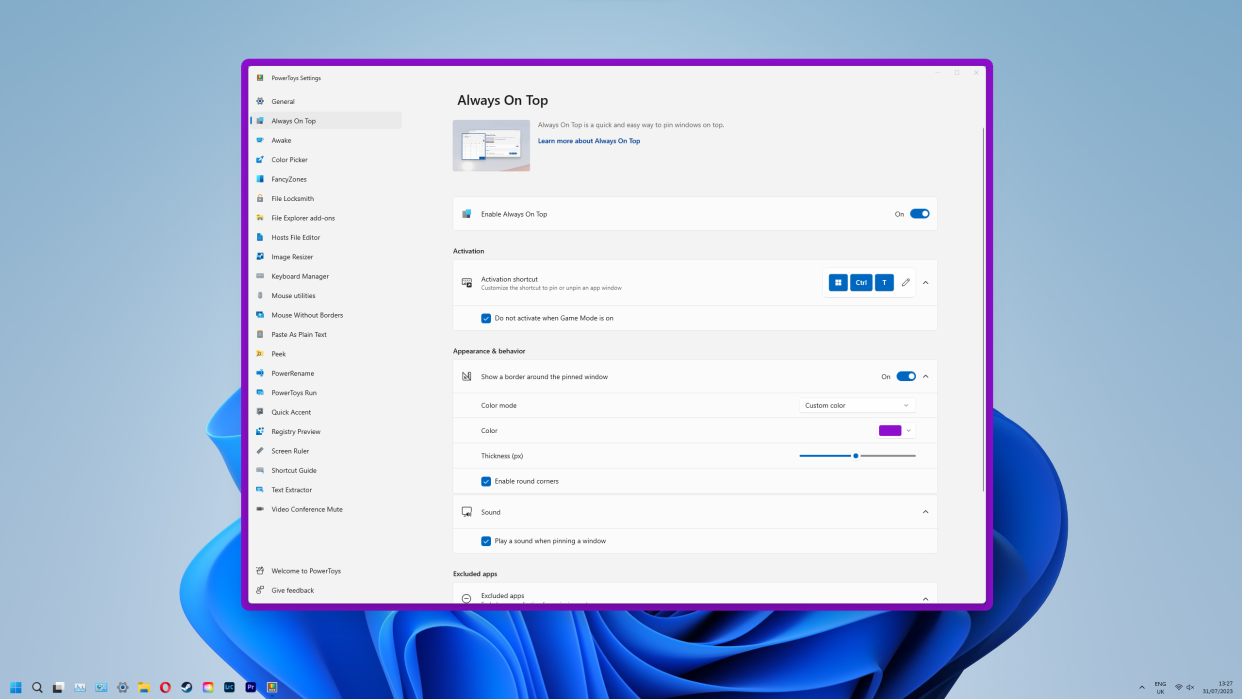
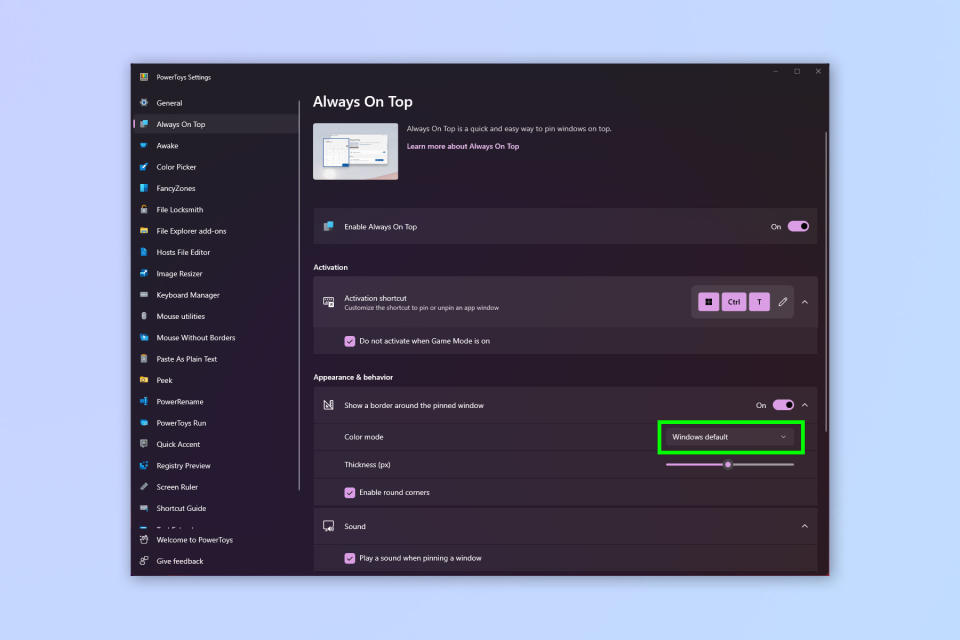
5. Change the highlight color (optional)
(Image: © Future)
You can change the highlight color of your pinned windows. By default, it'll match your theme. Click the Color mode drop down and select a new color. You can also toggle off the border using the switch just above, too.
If you'd like to learn about more ways to get the most out of Windows, check out our guide on how to use PowerRename on Windows 11. We can also show you how to get a transparent taskbar on Windows 11, for a sleeker desktop look.
Also be sure to check out how to customize the Windows 11 Start menu or how to change the Windows 11 Start menu back to Windows 10, if you're sick of the Windows 11 layout.

