How to design a stylised Japanese cyborg in Procreate

In this workshop, I’ll walk you through the basic steps I follow when creating my art in Procreate, from start to finish. I begin with canvas size and resolution, set-up with high-quality print outputs in mind. With Procreate, you must balance the canvas size and resolution with the desired output needs.
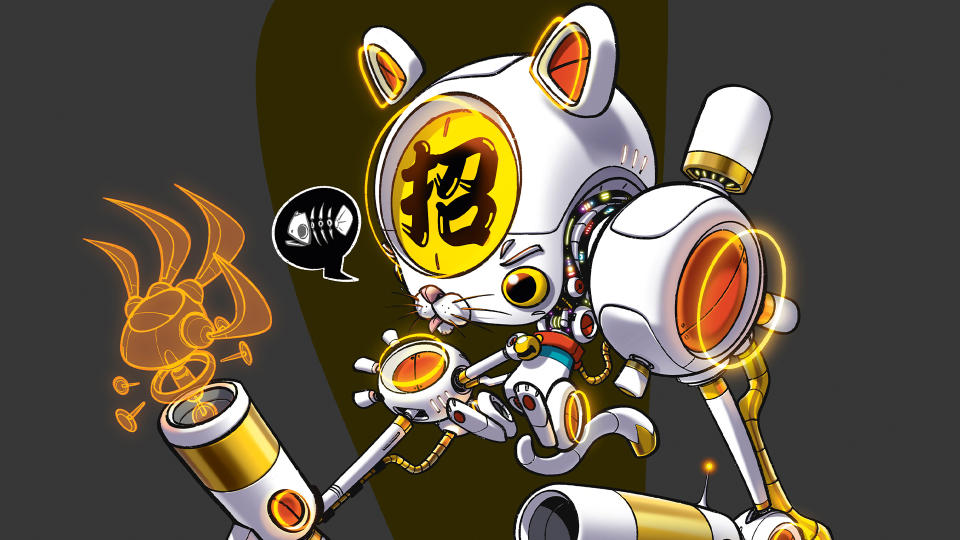
I wanted to design a mechanised version of the classic beckoning cat, also known as the maneki-neko in Japanese. Traditionally the right paw is raised to signify an invitation to money and happiness, and the left paw is for good people. For me, a big-headed Frankenstein cyborg cat with weaponised limbs felt just so disturbingly fun to create. (To get you started check out our guide to the best drawing tablets to get you set up for success).
01. Find the initial spark for your character
(Image: © DaCosta Bayley)
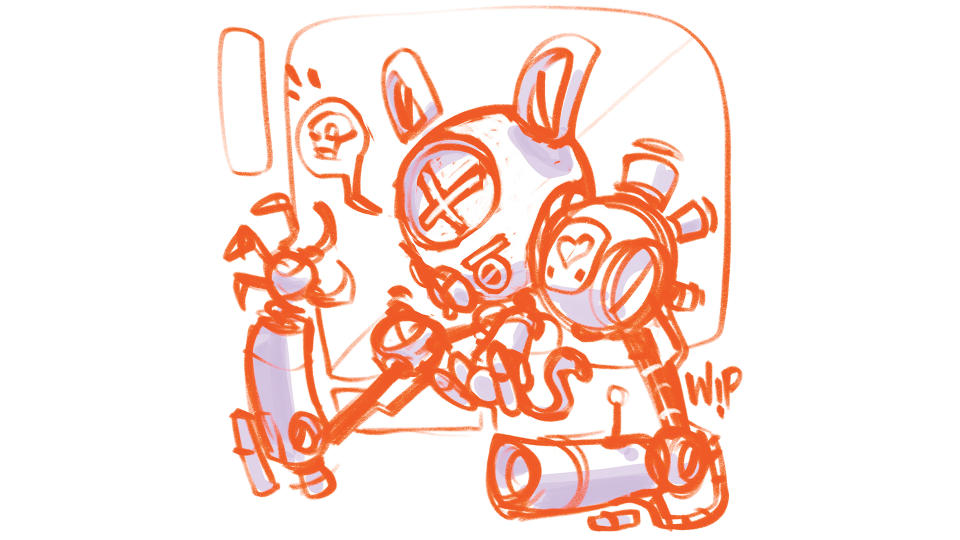
I usually start off with a fat brush like the Cartoonist to explore the shapes and proportions. I don’t want to get caught up in the details for now, so finding a solid silhouette is the primary focus at the beginning of my process. For me to be satisfied, it has to have good energy and expressive shape language.
02. Arrange the elemets
(Image: © DaCosta Bayley)
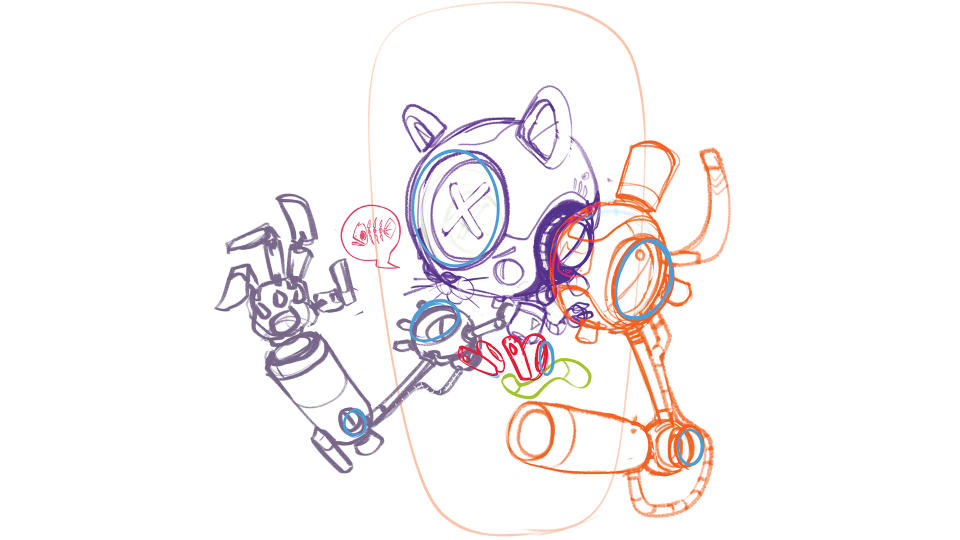
Once I’m happy with the art’s direction, I move on to refine the form. Switching over to the Perfect Pencil, I continue to define the different parts on separate layers to slide them around and adjust the composition. Using different colours for each layer helps me to quickly assess their relationship to the other pieces of the puzzle.
03. Begin the inking stage
(Image: © DaCosta Bayley)
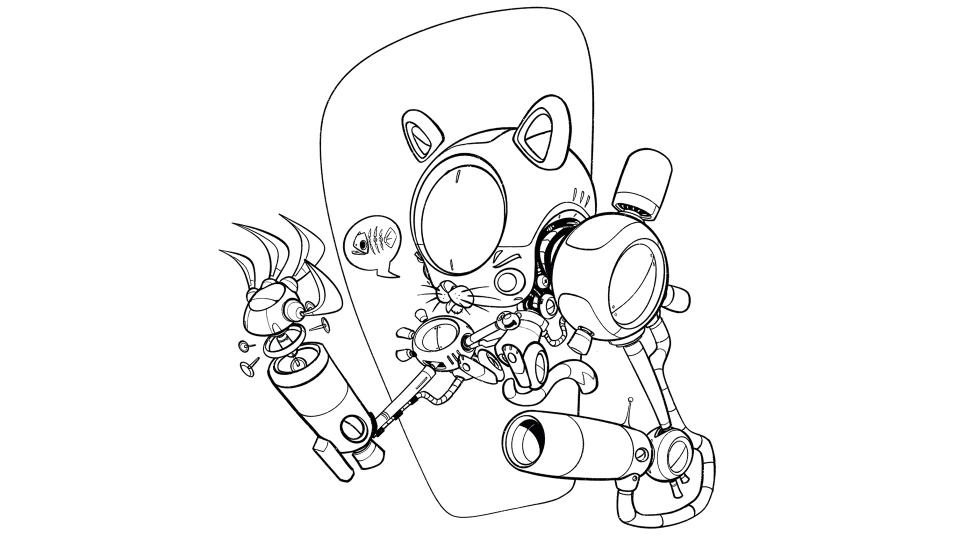
Without question, inking is one of my favourite stages to work on. Laying down the right contour lines with a great texture makes the form pop. I use a modified Watterson 2 brush from the Procreate MEGAPACK XXL created by Georg for most of my pieces.
04. Create the kanji characters
(Image: © DaCosta Bayley)
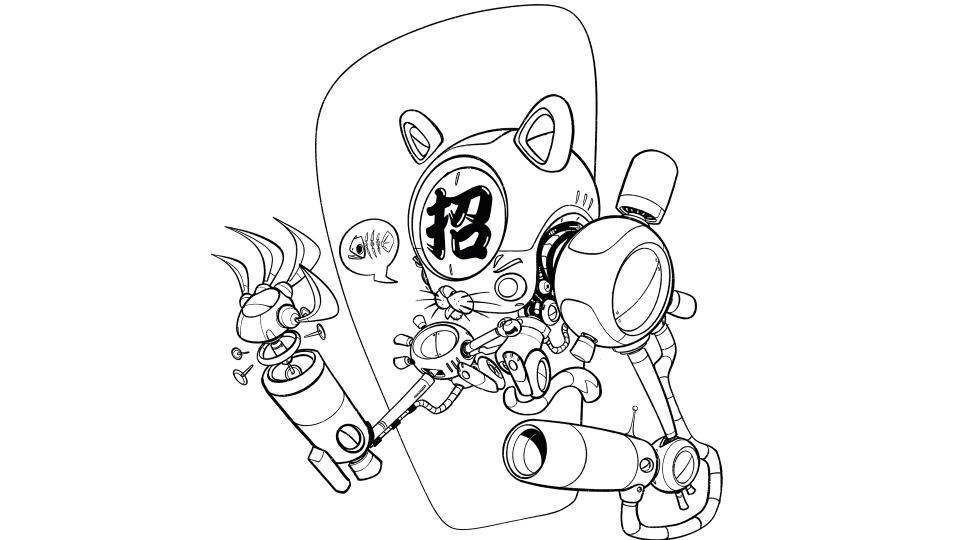
Traditionally maneki-neko are shown holding a gold coin with kanji, the Japanese characters, most commonly ‘sen man ryou’, translating to ‘billions of dollars’. I decided to use the kanji ‘maneku’, which means invite. Using a font styled from the Edo period, I paste it to a new layer, use Warp to set the position, and merge it with the line layer.
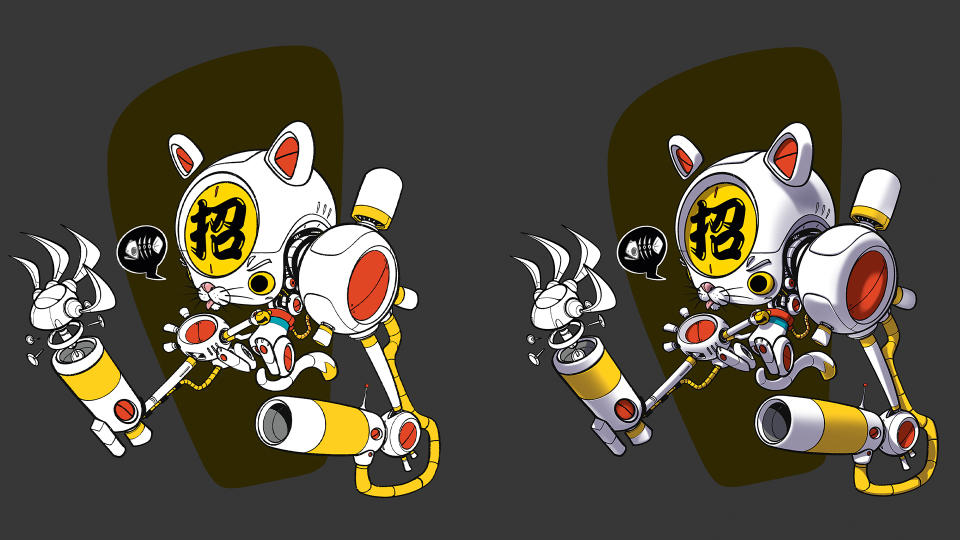
05. Create shadows

(Image: © DaCosta Bayley)
Building the shadows are next. I’d normally mash the layers together, but for this piece I’ve kept the parts separated and grouped – the background frame, far arm, claw, body, feet, ears, tail and close arm – this way I can do a little floating animation when I’m done. As a result, the shadow pass and all subsequent steps must be done this way as well, including the previous inking. The shadow layer is set to Multiply, and selecting a lavender grey colour and using a combination of soft and hard edges, I lay down the shadows to show the volumes and reveal how light interacts with the shapes.
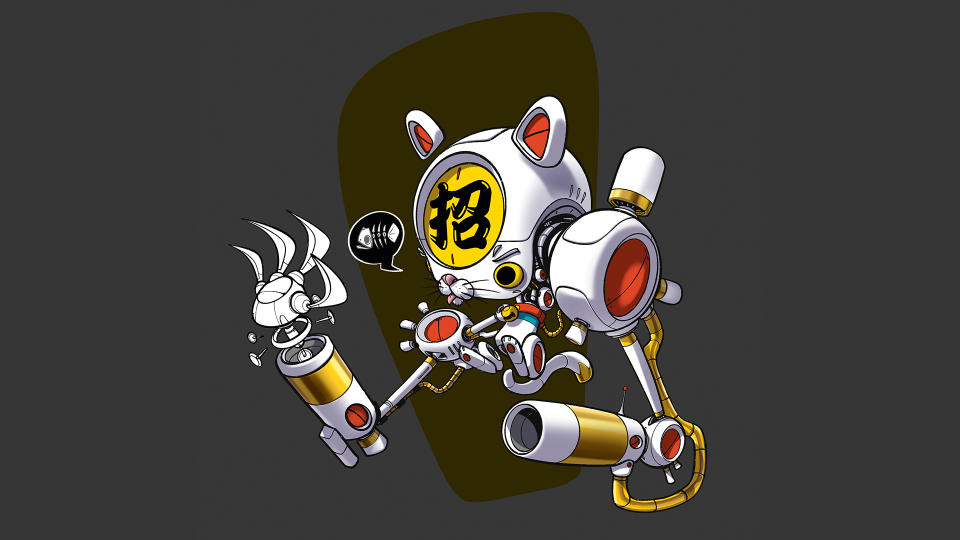
06. Start to block in the colour
(Image: © DaCosta Bayley)
Picking a colour palette can be tricky at times, as colour has a big impact on the feeling of the final piece. There are many colour schemes for the welcoming cat, but I decided to go with a classic white body, red collar, jade green bib and yellow accents, using a modified Technical Pen to fill the flat colour in the shapes.
07. Add accents to bring materials to life
(Image: © DaCosta Bayley)
To take the materials up a notch, I add a brushed gold finish to the yellow on the arms and cables using a soft brush. It’s important to match the level of detail in the reflection with the style; too much can be distracting and too little will leave it feeling flat.
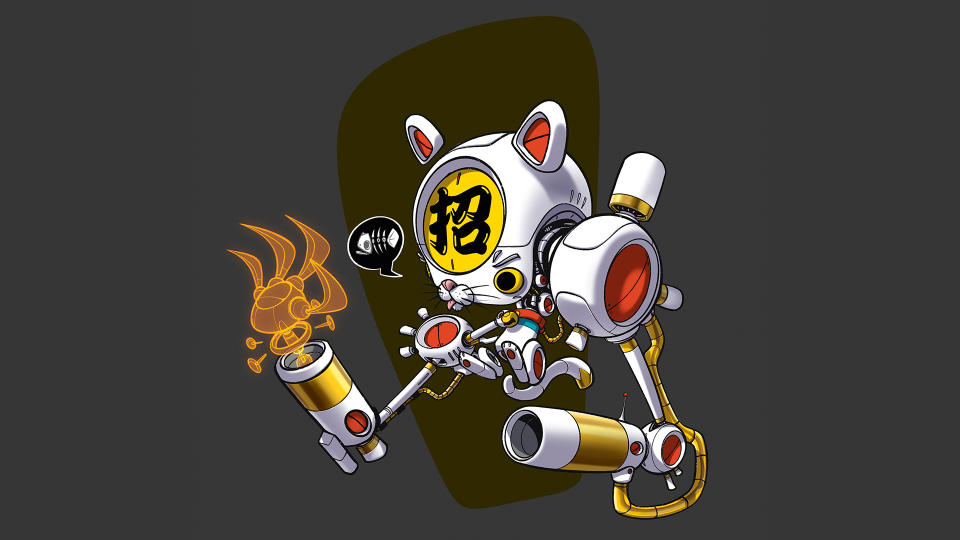
08. Create the holographic claw
(Image: © DaCosta Bayley)
here are a couple of ways to achieve this effect. Create a new layer below the line work and use it as a guide silhouette of the claw, then fill that with the desired colour, in my case orange. Going back to the line layer, Alpha lock the layer, fill it with colour and change the blend mode to Add. You can then duplicate the line layer, use a little Gaussian blur and change the blend mode to Add, or use Bloom to create a similar look.
09. Add the glowing rings

(Image: © DaCosta Bayley)
The approach here is exactly the same as the claw. I create the ellipses in the medium orange colour, duplicate the layer and change it to Add, and also bring a little Gaussian blur into the mix to test out.
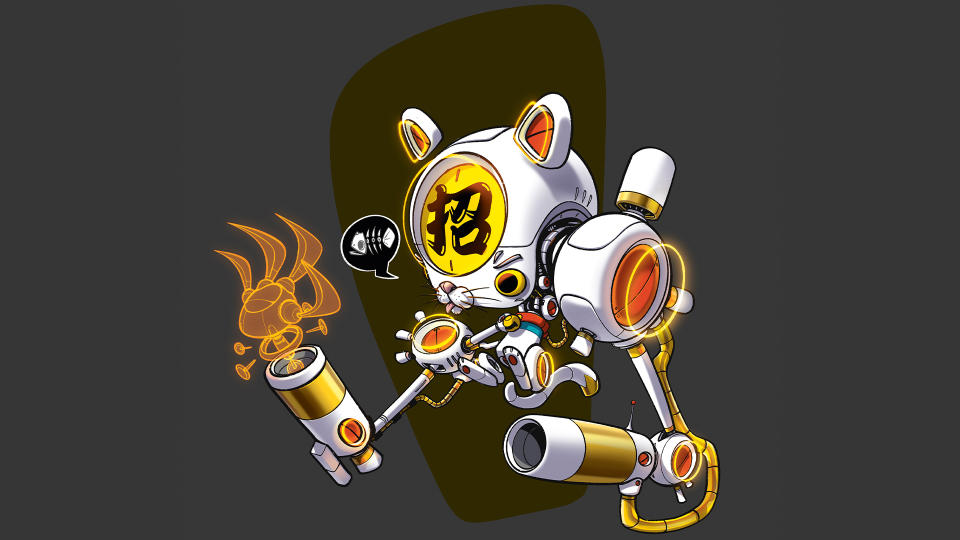
10. Give your character a glow
(Image: © DaCosta Bayley)
Now that the rings are added, we should show their light on the forms. To do this, bring in a new layer in the Add blend mode and set it to Clipping Mask. I also use a Default Medium Airbrush to paint in the soft glow.
11. Add blinking lights
(Image: © DaCosta Bayley)
One of the elements that screams robot are the little blinking lights, for which I used a modified Light Pen from the Default brush set in Procreate. Create a new layer set to Normal, and using the Light Pen select your colour, setting the Saturation and Brightness to 100%. Create dots and lines where you want to indicate a light source. Next, make a new layer set to Add and use a Medium Airbrush to paint the light spill onto nearby objects. Remember to add a falloff effect by reducing the intensity of the light on objects further from the source.
12. Create a frame
(Image: © DaCosta Bayley)
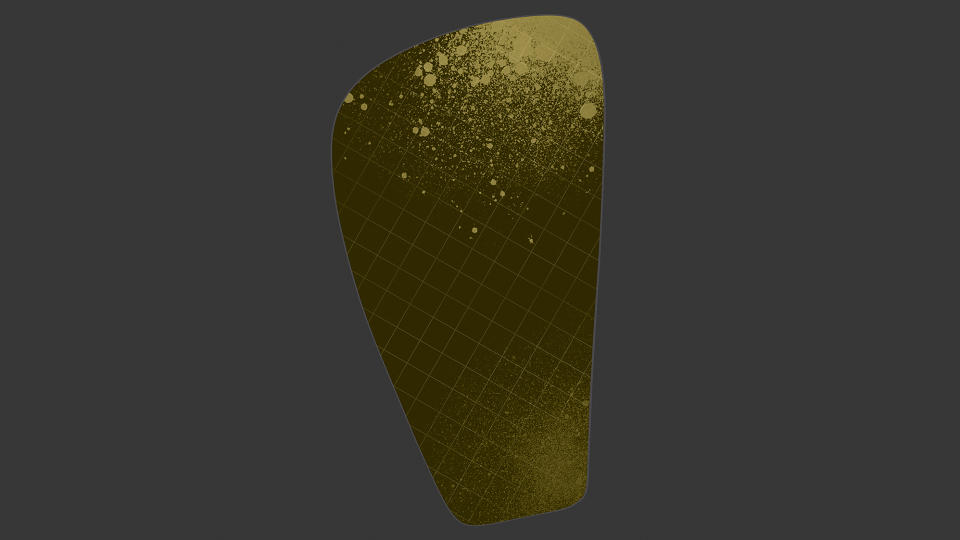
It might be my love of industrial design, but I like using a shape in the background to frame the character or object. The shape can be one that adds directly to the story of the piece or simply brings texture and colour, adding a little extra touch to the composition. I used three default brushes for this: the Grid brush found in the Texture set; the Fat Nozzle from the Spraypaints set; and Mad Splashes from the Water set.
13. Add accent light for a final touch

(Image: © DaCosta Bayley)
I like using an accent light for the final touch and adding more polish to
the image. Create a new layer set to Add and choose a colour that will be either complementary or contrasting. As my image is an overall warmer colour, I choose a teal blue. Using the same approach as adding the glow from the rings, paint the light coming from the light source below the character.
This article originally appeared in ImagineFX issue 231. Buy the single issue here or subscribe to the magazine at Magazines Direct.

