How to Paint Your Nails For a Flawless, Streak-Free Set
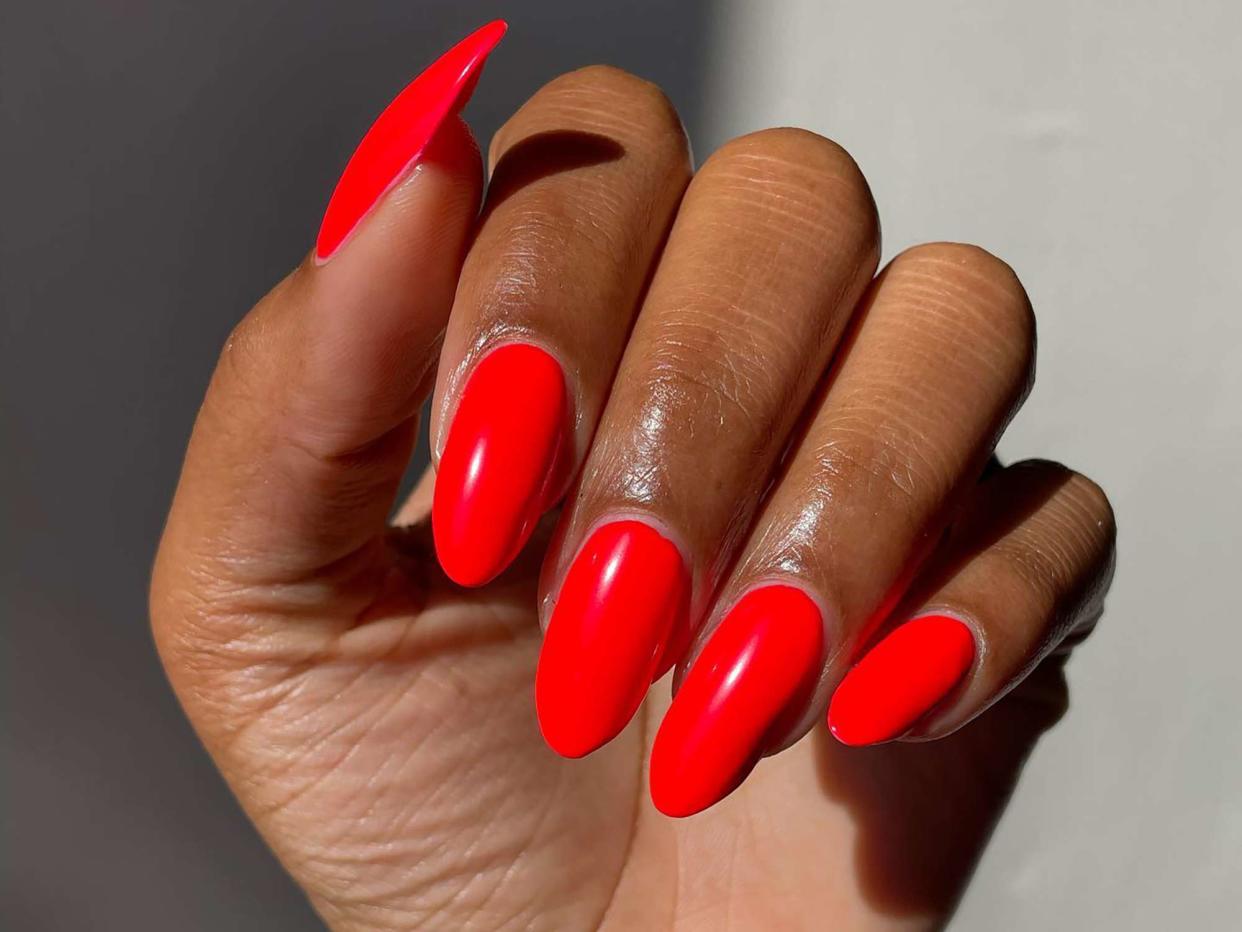
@melanated.mani / Instagram
Whether you're picking up a new creative hobby or just looking to save some money, there are plenty of reasons to paint your own nails. However, doing it yourself can be time-consuming and tricky, and many people face issues ranging from how to paint neatly with a non-dominant hand to executing tricky nail art. It can all make the task feel like an extreme sport.
But, as with any skill, practice makes perfect. And, to help you perfect your technique, we tapped two nail pros—Mariana Augusto and Ashleigh Alli—who shared all their best tips and tricks for executing a flawless paint job. Keep reading for all the details.
Meet Our Expert
Mariana Augusto is a nail artist and manicurist based in London.
Ashleigh Alli is the founder of vegan nail color brand ASHE London.
What You'll Need
If you want your DIY nails to last as long as a salon set, you'll need the proper tools. Augusto says your manicure starter kit should involve eight simple tools and products: "For a beginner-friendly manicure, I would recommend a nail file, a buffer, [a cuticle pusher], cuticle nippers—but be careful—acetone to dehydrate the nails, and a good base and top coat." She says cuticle oil "is a must," as is hand cream "if you're feeling extra!"
Choosing a Polish
You'll face an abundance of finishes as you choose your desired nail polish, and each can help create an entirely different and unique look from the next—these include sheer, matte, jelly, metallic/chrome, and satin, to make a few. If you're unsure what to select, keep your end goal in mind: For example, if you're aiming for a festive look, consider glitter; if you want something super on-trend, metallic or jelly might be the move.
How to Paint Your Nails
Prepare Your Nails
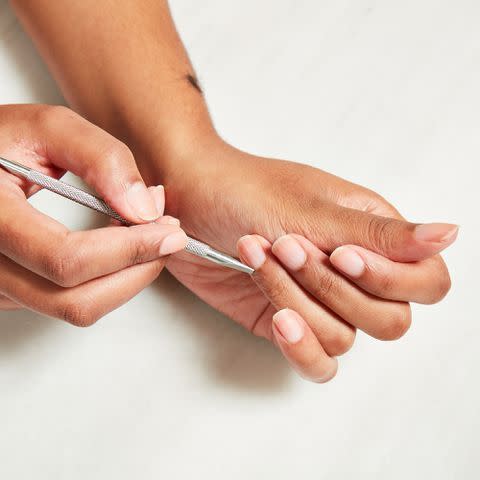
D Mills / Byrdie
You'll want to paint on a clean, fresh base for a flawless finish, so start by gently pushing back your cuticles before giving your nails a soak with soap and water. This will help clean away any dirt or residue and soften your cuticles.
Then use cuticle nippers or a cuticle removal solution to remove dead skin. Dead skin will show up as white so use that as a guide—you don't want to nip any living tissue.
Next, trim and file your nails. Choose whatever nail shape you'd like; just try to file in one direction to avoid splitting the layers of your nail. Then, using a cotton pad soaked in acetone, wipe your nails to dehydrate them and remove any excess oils. (You can also use a non-acetone nail polish remover for this step if you'd prefer.) Augusto says dehydrating the nails before applying any product will help ensure no oils are sealed into your nails, resulting in a longer-lasting mani.
Apply Your Base Coat

D Mills / Byrdie
Augusto says starting with a base coat is essential. "[It] will act as a protective layer between your natural nail and whatever you apply on top, whether normal polish or gel," she explains. "The base coat will also help your manicure last longer." Apply a thin, even coat and wait a few minutes before going in with your polish. (If using gel, you'll need to cure your base coat.)
Paint Your Nails
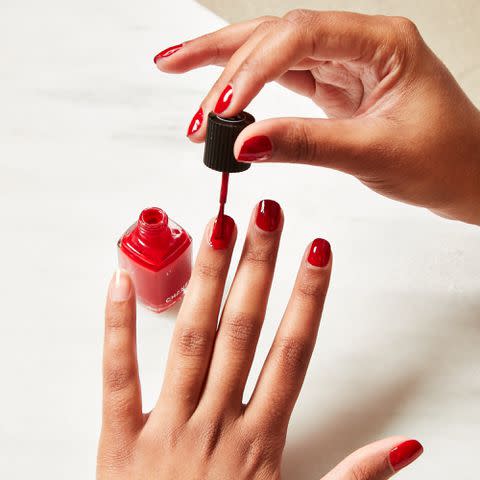
D Mills / Byrdie
After fanning the head of the nail polish brush on the rim of the bottle to tap off any excess product, the pros recommend painting with the three-stripe method. Move the brush from cuticle to tip across the center of your nail in one smooth motion. Then repeat on the left and right side of your nail.
"Make sure you are applying thin layers of the product [and that] they dry or cure fully in between," says Augusto. "Some colors definitely have more coverage than others, which could mean you might need to go in with a third coat of color to get that seamless look." She recommends keeping a clean-up brush on hand to tidy up around the nails.
If you plan on adding nail art, you'll want to do so after this step (with a fully dried base) before sealing everything in with a top coat.
Tips
Roll your nail polish bottle in your hand for 15-20 seconds before using the product. This will help mix up the formula without creating bubbles, which can form an uneven coat on the nail.
Apply Your Top Coat

D Mills / Byrdie
Once you're happy with your color, apply a top coat to seal in the look. A top coat is a clear varnish which will help prevent chipping and add extra shine. Alli suggests once again using the three-strip method to ensure the entire nail is covered and to paint over the free edge for extra protection and longevity.
Caring for Your Painted Nails
Aftercare is a big factor in how long your polish and nail art lasts, so be as careful as possible. Alli recommends using cuticle oil generously. "Any nail varnish remover, even acetone-free, is likely to dry out your nails, so the most important thing is to rehydrate them. Cuticle oil is key," she says. "Apply this daily as well as a good hand cream." Augusto seconds this, adding that cuticle oil should become your "new best friend" after polishing your nails.
You'll also want to make some adjustments to your daily routine, especially when it comes to chores. "When doing any cleaning, such as washing the dishes, make sure to wear gloves," says Augusto. "Exposure to excess moisture can [affect] the longevity of your manicure." For fans of baths, she suggests keeping your nails from being fully submerged in the water.
"And finally do not pick off your gel manicure," says Augusto. "This is super important, as you will end up tearing layers of your natural nails." This will weaken them and jeopardize your nail health, which could impact the wear of your next manicure.
Troubleshooting Common Nail Painting Issues
There are a few common issues you might encounter when painting your nails—and thankfully, our experts have the solutions.
Darker colors: You may find some discoloration after using darker nail paints, but Alli says a good base coat can keep you from staining your nail bed.
Streaks: When painting several layers, you may encounter streaks or smudges, but fear not—this is completely normal. "Paint a really thin first coat of color—you want one side of your brush to have nothing on it at all," Alli instructs. "It will give you more control and stop the color from accidentally flooding onto your cuticles. The thinner the application, the faster the layer will dry. Don't worry if your first layer is streaky: People always make the mistake of trying to correct streaking and end up making it worse. Just trust the process." She adds that while most colors will be streak-free by the second coat, "don't be afraid to go for three very thin layers."
A messy non-dominant hand: Augusto says having a clean-up brush handy can help with cleaning around the nails or any areas you might have accidentally painted, especially on your non-dominant hand. "Painting your non-dominant hand is definitely a challenge but practice makes perfect," she says.
Read the original article on Byrdie.

