How to Pickle Anything (No Canning Necessary)
Every year, my garden gets bigger. This year I may have gone a little overboard. I'm harvesting way more produce than I can eat and with all the effort I've put in, I would hate to watch my vegetables wither in the fridge. So I'm making quick-pickled vegetables (not just cucumber pickles!). You can pickle pretty much any veggie in the refrigerator: tomatillos, carrots, okra, beets, peppers, turnips, avocado. Then jazz them up with some seasonings, such as pickling spice, garlic and fresh dill. That's the beauty of making pickles at home. You can tailor them to suit your tastes, making them sweet or sour, and adding as much or as little flavoring as you wish.
Related: All the Veggie Pickle Recipes You Need
The trick with pickling is to create an environment that is inhospitable to harmful bacteria while preserving the integrity of the vegetables. The 1:1 ratio of vinegar to water keeps my vegetables crisp in the fridge, but is also acidic enough that they can be canned safely if I choose to. And don't let a fear of canning slow you down: instead, try making refrigerator pickles-no canning required! (Of course, should you like to can them so they last longer, you can.)
Related: How to Can Preserves and More in a Water Bath
Now that I've officially become a pickling fanatic, I won't waste a thing. Pickled tomatillos make a great topping for tacos. Hot pickled peppers are a zesty-spicy accompaniment to grilled meat. Chopped pickled green beans and carrots are delicious in salads, and the iconic bread-and-butter pickle is the perfect addition to a sandwich. And don't forget your fellow pickle fans-a homemade jar of pickles makes a great hostess gift.
So grab some veggies, vinegar, a few spices, and get pickling!
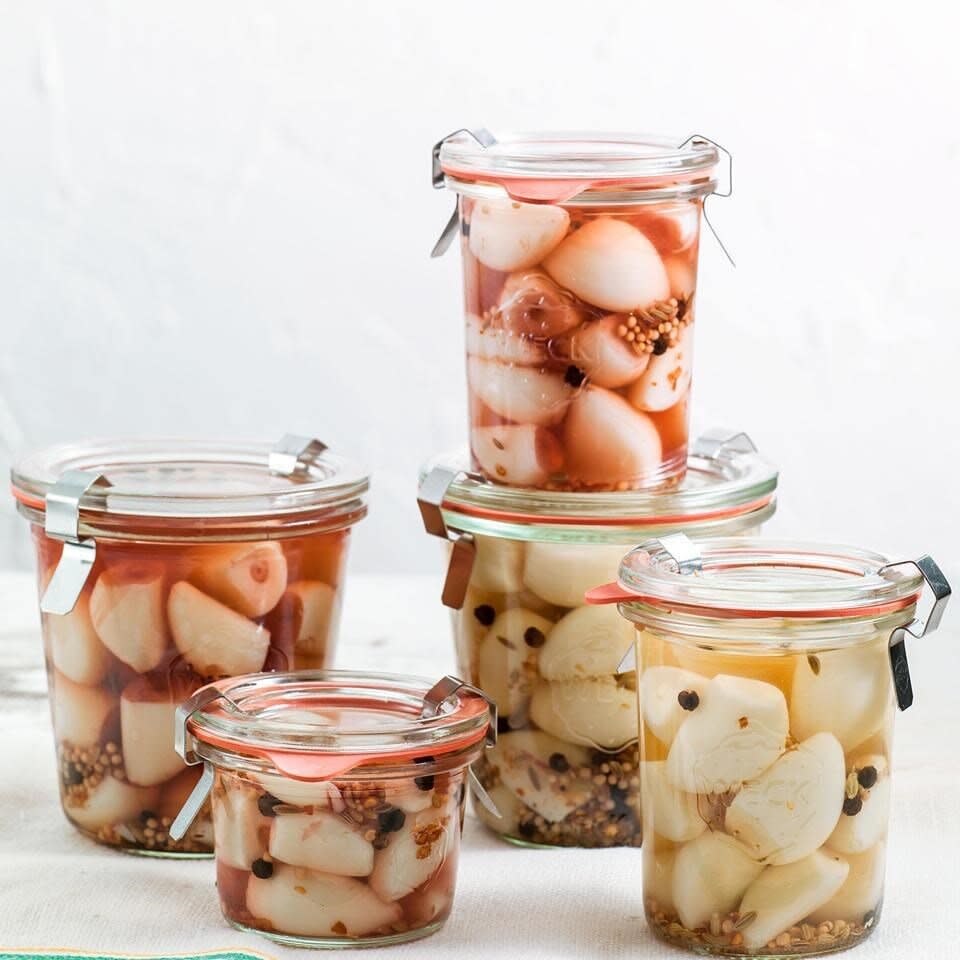
Pictured: Pickled Garlic Cloves
3 Tips for Successful Making Homemade Pickles
1. Water: Most water is suitable for pickling, but hard water may interfere with the pickling process and discolor the vegetables over time. Use purified water if you're in doubt.
2. Vinegar: You can experiment with different vinegars like white wine vinegar or apple cider vinegar for pickles that you're storing in the refrigerator. But if you plan on canning them, use vinegars that are at least 5% acetic acid for your pickling liquid. The percentage is often listed on the label. As long as there is an equal amount of vinegar and water in the brine, you can add or subtract ingredients like salt or sugar to suit your tastes. But be aware that if there is more water than vinegar in the brine, it may not be suitable for canning.
3. Salt: Use pure sea salt without any additives or salt labeled "canning" or "pickling" salt. Additives in table salt or kosher salt may make the brine cloudy.
Here's a simple guide to transforming your fresh summer produce into a sharp and piquant playground for your taste buds:
Step 1: Prepare Vegetables
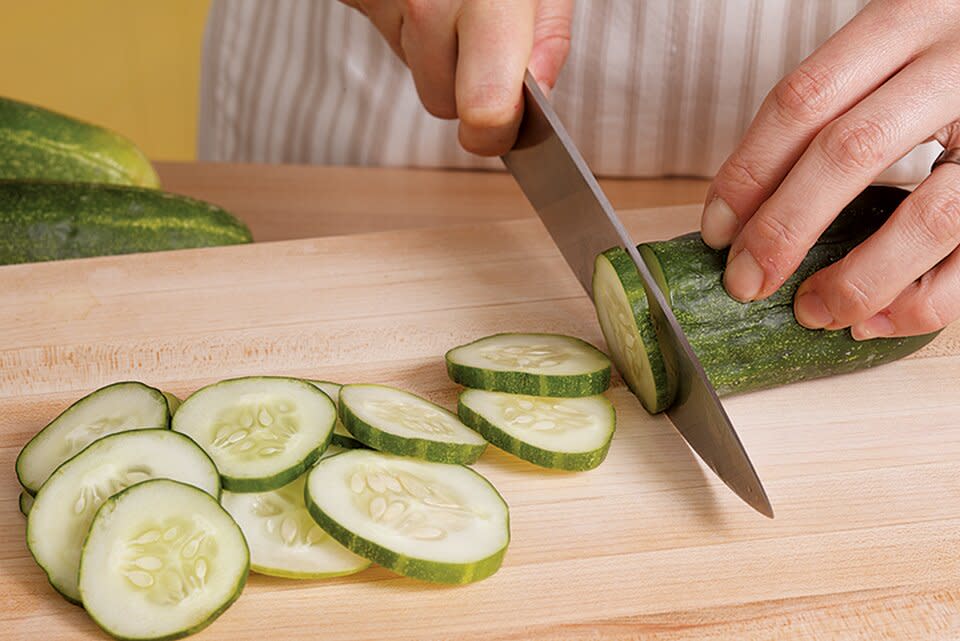
Wash and chop your veggies into whatever shape you'd like them to be pickled in (thin disks work well if you're not sure what to do). Certain veggies will be enhanced by blanching them (briefly cooking them in boiling water). At EatingWell, we recommend blanching beets, Brussels sprouts, carrots, ginger, green beans, okra and peppers. Don't bother blanching cucumbers, tomatillos, tomatoes or turnips, however. You can find recommendations for the quantity of vegetables to start with for different kinds of recipes here. To blanch: Bring 16 cups of water per pound of prepped vegetables to a boil in a large pot. Add the vegetables, cover, return to a boil and cook for 2 minutes (cook beets for 5 minutes). Transfer the vegetables to a large bowl of ice water to cool; drain.
Step 2: Divide Vegetables

Divide the vegetables among 6 pint-size (2-cup) canning jars or similar-size tempered-glass or heatproof-plastic containers with lids.
Step 3: Add Flavorings
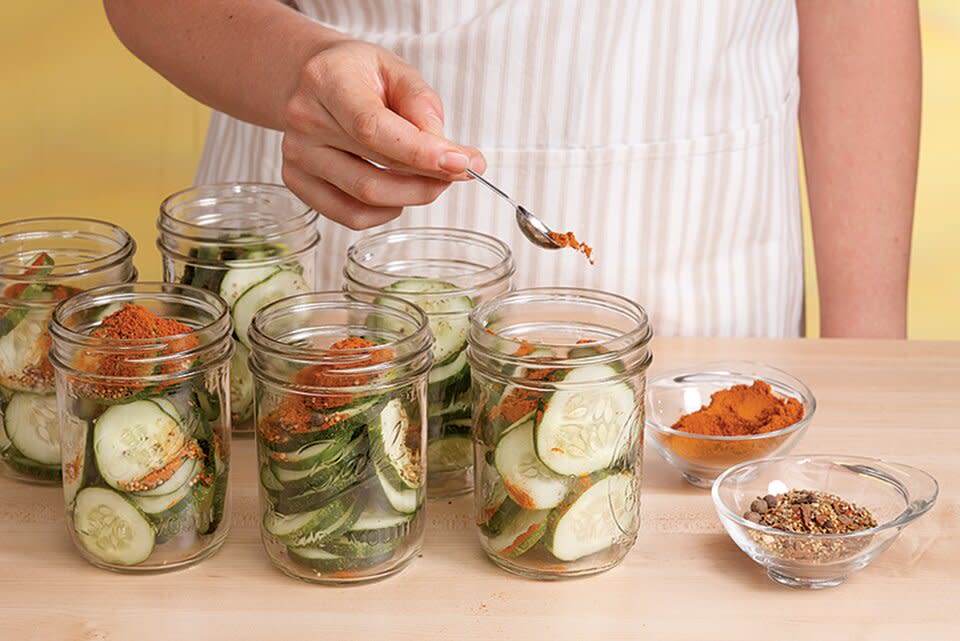
Add fresh or dry flavorings, if desired. Don't be afraid to mix and match a little! Here are some tasty flavorings to try:
Dry Flavorings (amount per pint jar):
1 Bay leaf
1/2 teaspoon Celery seed
1-3 small whole Dried Chile peppers
1/2 teaspoon Cumin seed
1/2 teaspoon Dill seed
1/2 teaspoon Mustard seed
1/2 teaspoon Pickling spice
1/2 teaspoon Turmeric
Fresh Flavorings (amount per pint jar):
1 fresh Habanero or Jalapeño pepper
2-4 sprigs sliced or whole Dill
1/2-1 whole large clove, sliced Garlic
2 3-inch strips fresh (peeled) or 1/2 teaspoon prepared Horseradish
1 sprig fresh Oregano
1 tablespoon sliced Shallot
Don't Miss: 8 of the World's Healthiest Spices
Step 4: Make Brine
Make either sweet or sour brine using these recipes:
Sour Pickle Brine Recipe
Makes: 6 cups. Combine 3 cups distilled white vinegar (or cider vinegar), 3 cups water, 2 tablespoons plus 2 teaspoons sea salt and 2 tablespoons sugar in a large saucepan. Bring to a boil and stir until the salt is dissolved. Let boil for 2 minutes. Remove from the heat.
Sweet Pickle Brine Recipe
Makes: 6 cups. Combine 3 cups distilled white vinegar (or cider vinegar), 3 cups water, 1 1/2 cups sugar and 1 tablespoon plus 1 teaspoon sea salt in a large saucepan. Bring to a boil and stir until the salt and sugar are dissolved. Let boil for 2 minutes. Remove from the heat.
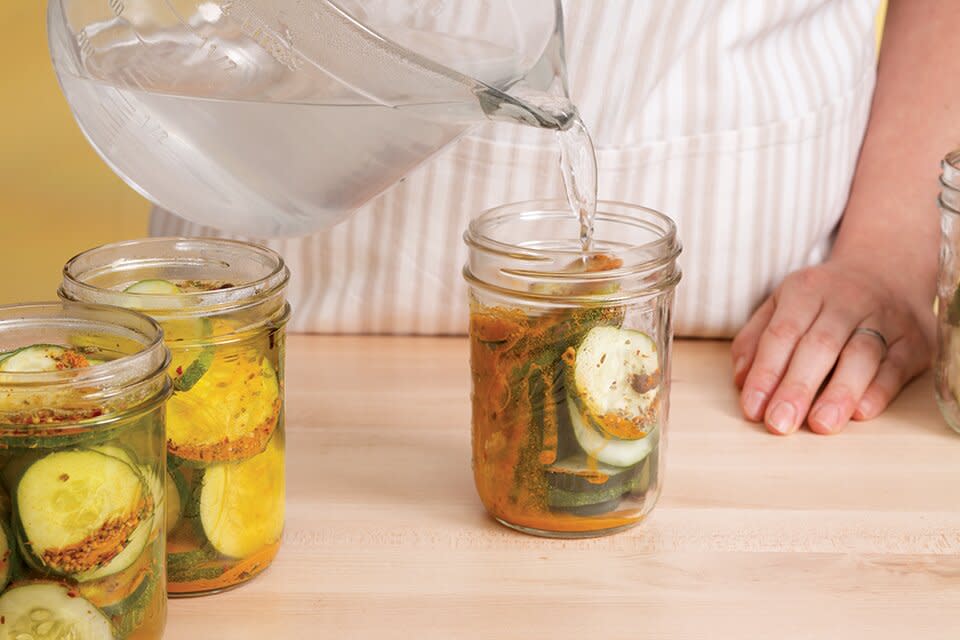
Step 5: Fill Jars with Brine
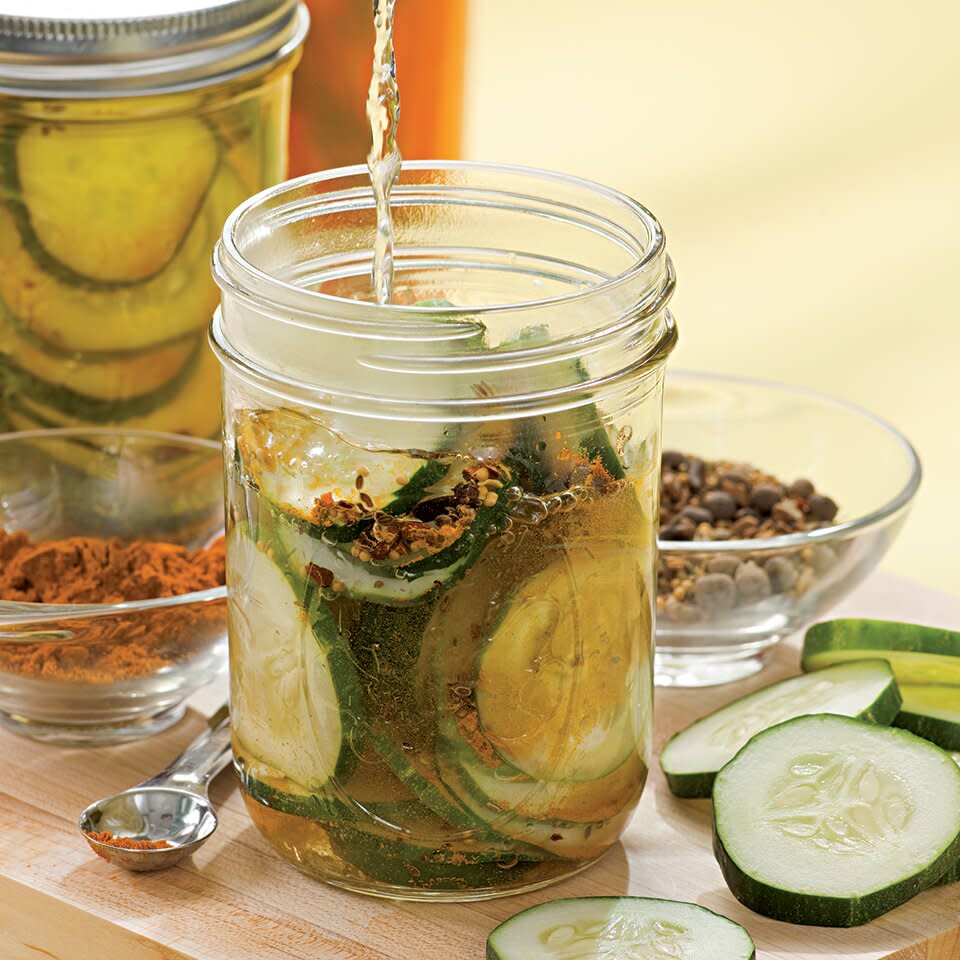
Carefully fill jars (or containers) with brine to within 1/2 inch of the top of the rim, covering the vegetables completely. Discard any leftover brine. Place the lids on the jars (or containers). Because you're not canning them, you don't need to gently tap the jars to get rid of air bubbles.
Refrigerate them for at least 24 hours before serving. (Refrigerate okra and turnips for at least 1 week before serving.) Pickled veggies will keep in the refrigerator for up to 1 month. Find step-by-step instructions for canning your homemade pickles so they can be stored at room temperature for up to 1 year here.

