Putting the 'Goo' in 'Good Fun'—Here Are 3 Different Ways To Make Slime
The perfect DIY for a day indoors.
Oh, slime. Snotty, slinky, sometimes a little "farty." I am not sure how long it took my boys to figure out how to make slime “fart,” but I am positive when I became a mom that I didn’t imagine that fun time with my kids would be seeing who could make their slime "fart" the loudest. Sound like something your own kiddos would enjoy? We've got all the details on how to make slime, including three different techniques!
I have a love-hate relationship with slime. I love to play with it, but at one point, slime had made its way into just about every crevice of my truck and had to be forcibly removed from the carpet in most of the rooms of my home. Yet, seeing the look in my boys’ eyes every time they got a fresh new pile of slime was priceless, and practically worth the hassle.
Related: 100 Fun Things To Do When Bored To Help You Stay Sane
Now my kiddos are teenagers, and though I am “forcing” them to help me with this project, they seem pretty excited to be making it.
It has been a long while since I have heard those magical slime “toots,” so let’s get going with these step-by-step instructions we have created for you.
After gathering simple ingredients (that most of us have around the home), and just a few easy steps, you will be making your own slime in no time!
How To Make Slime Three Different Ways
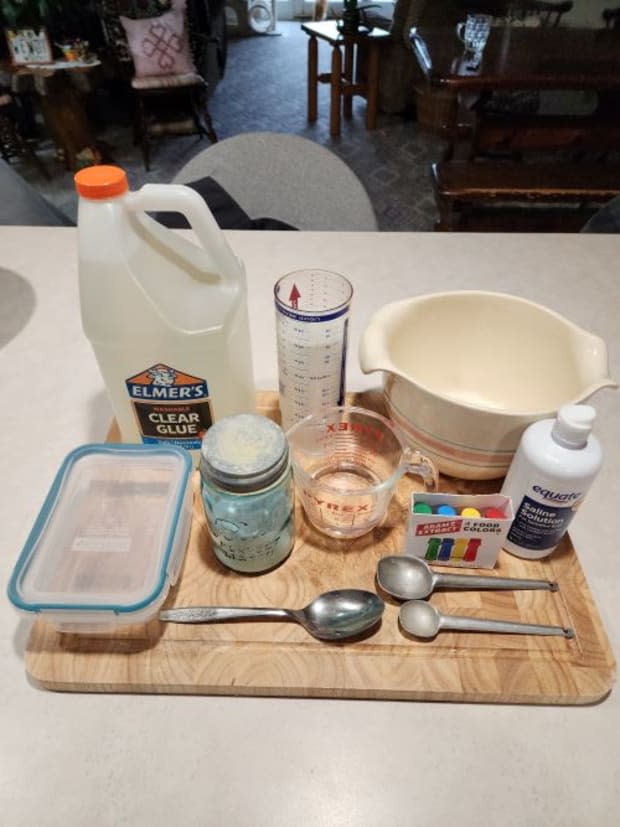
We have put an ingredient and equipment list with each type of slime you can make. Review each one first to make sure you have everything before getting started.
Now pick a slime technique, and if you have everything you need, let’s get to mixing!
Oobleck Slime
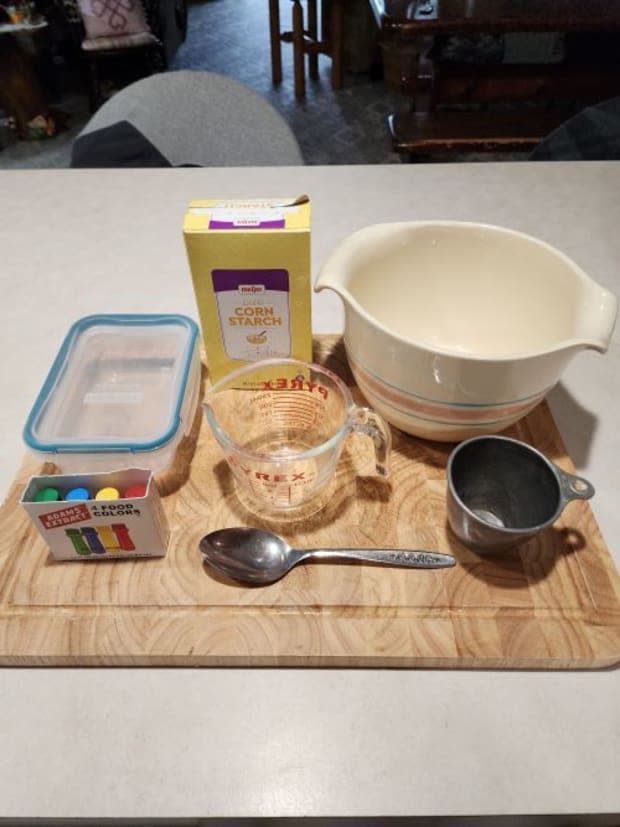
Ingredients:
½ cups of water
1 cups cornstarch
Food coloring (optional, but is it really?)
Equipment:
Large microwaveable bowl
Measuring cups and measuring spoons
Spoon (for stirring)
Airtight container with a tight lid or plastic storage bag
Directions:
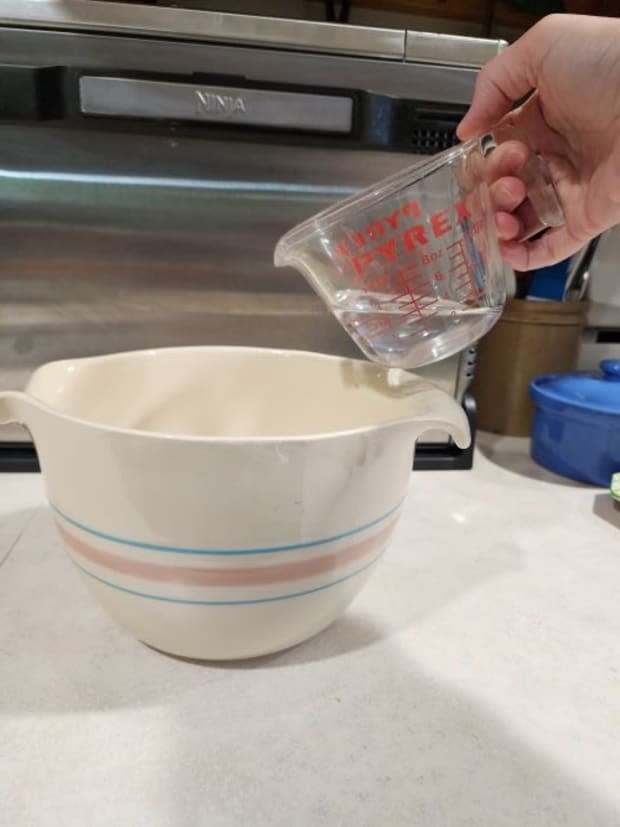
1. Add ½ cup of water to a large microwaveable bowl.
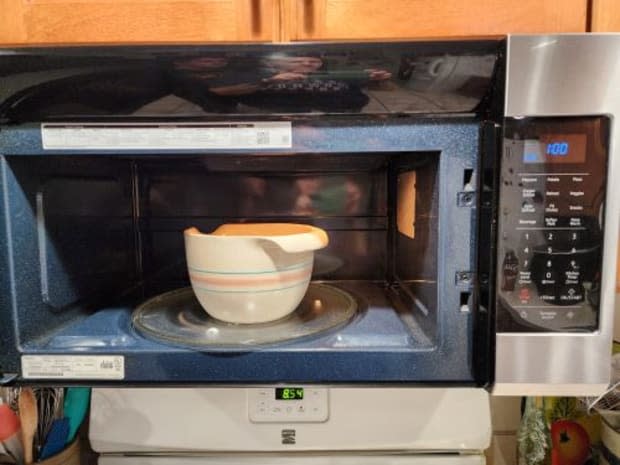
2. Place it in the microwave for 45 seconds to 1 minute to heat up the water.
It is important not to use boiling water because you will be mixing the slime with your hands. If it is too hot, you will have to wait until it cools.
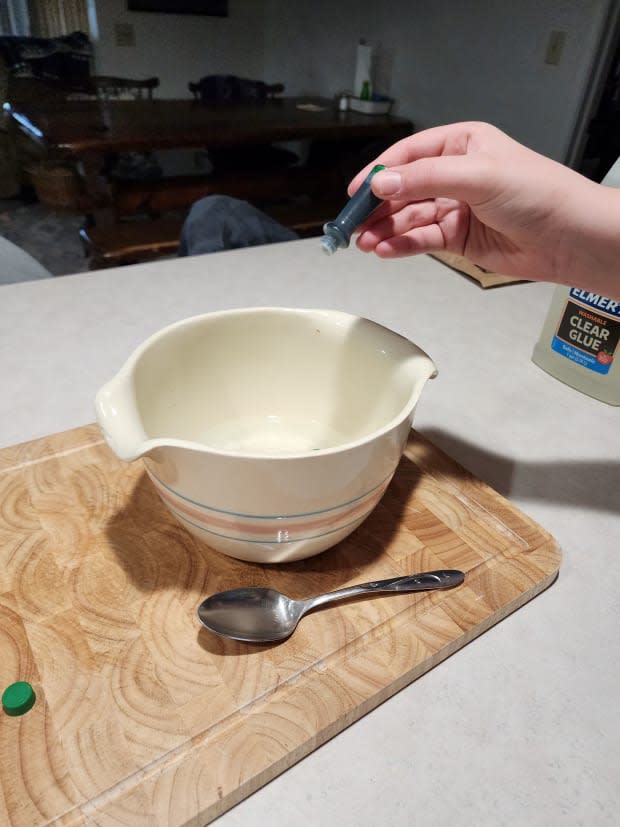
3. If you are using food coloring, add 3-4 drops until the water is a shade darker than you want the slime to be.
When you make this slime, the color will be diluted slightly.
4. Mix the water well with a spoon.
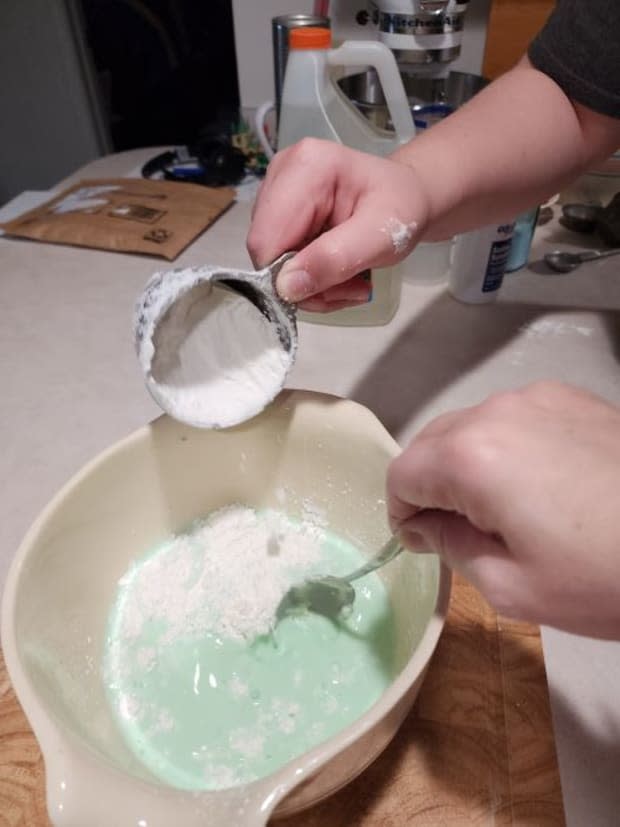
5. Measure 1 cup of cornstarch and slowly add it to heated water.
Make sure that the cornstarch comes out of your measuring cup slowly or take a spoon to scrape it out. If you allow it to plop out all at once it will have an "exploding" effect, and blow all over you and your kitchen.
6. Use your spoon to mix until it is thick, then take your fingers to continue mixing.
Thoroughly blend the mixture into the consistency of a thick paste.
Regulate the consistency of the slime. You can add more cornstarch if the slime is too thin or add more warm water if the mixture is too thick.
Getting the right slimy consistency is a matter of personal preference.
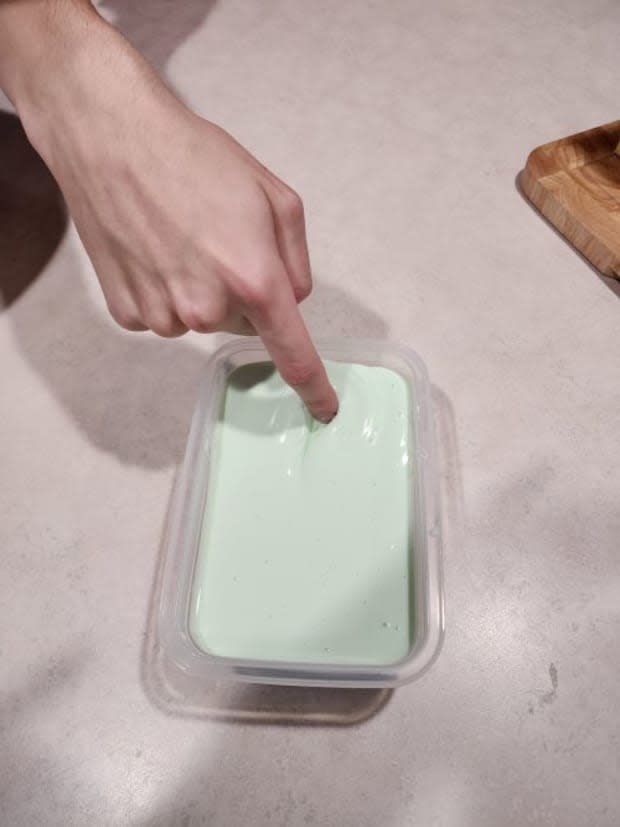
You should be able to put your fingers into the Oobleck easily and the surface should feel dry.
My son figured out that if you poke Oobleck, it is "hard," but if you pull your finger through it, then it is "runny."
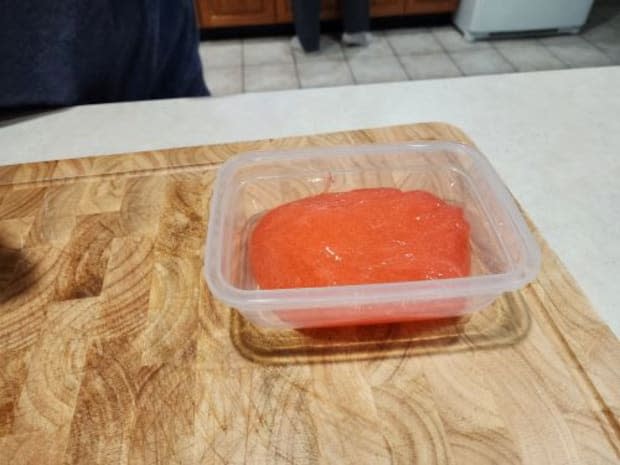
Place your Oobleck slime into a storage container when you are done playing with it to keep for later use.
Related: Avoid Going Stir-crazy With 125 Indoor Ideas To Do Even When It’s Cold Outside
Classic Slime Recipe
Ingredients:
1/2 cup glue (e.g., Elmer’s glue)
1/2 teaspoon baking soda
1/4 cup water
3 tablespoons contact solution (it must contain boric acid in the ingredients)
Optional fun ideas: food coloring, glitter or confetti
Equipment:
A medium mixing bowl
2 - measuring cups
1 measuring spoon- teaspoon
1 measuring spoon - tablespoon
Spoon (for stirring)
Airtight container with a tight lid or storage bag
Directions:
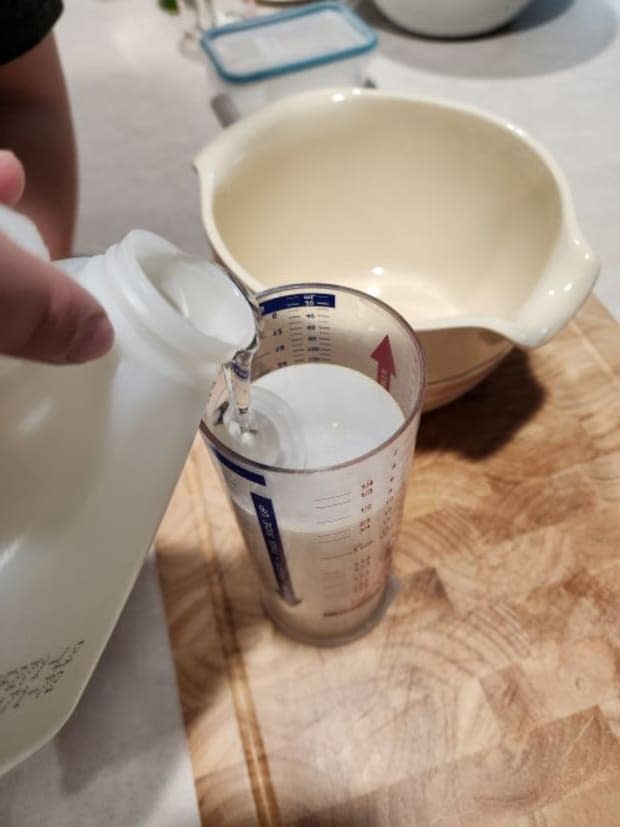
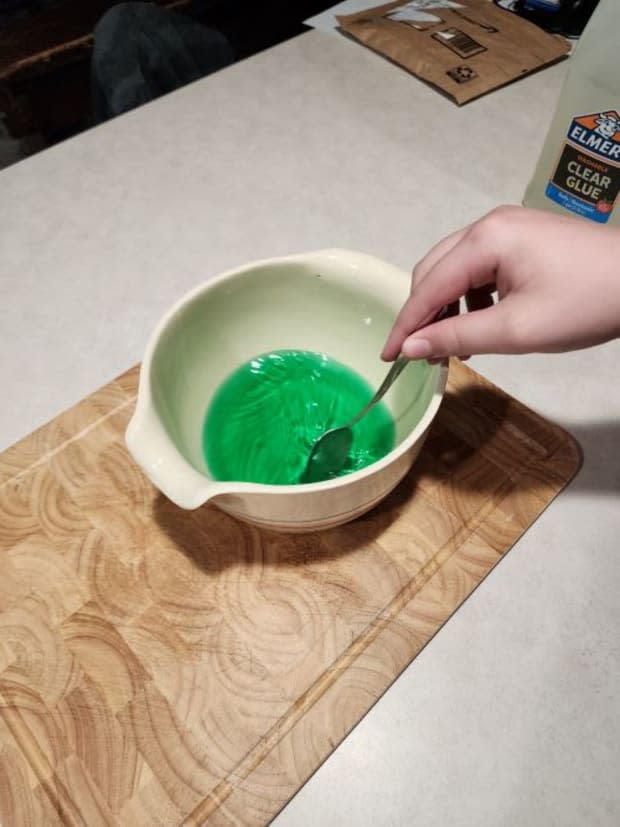
1. Begin by pouring the 1/2 cup of glue into a bowl.
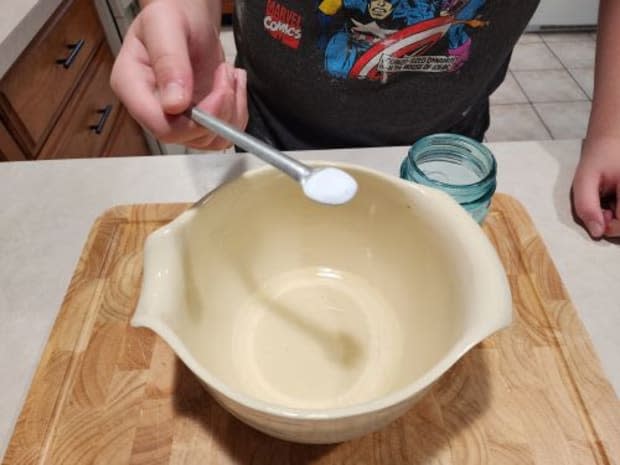
2. Stir in a 1/2 teaspoon of baking soda.

3. Then add in 1/4 cup of water.

4. Stir in any food coloring (or glitter if you do not have moody teenage boys).
Only add a couple of drops, or the slime might not turn out.

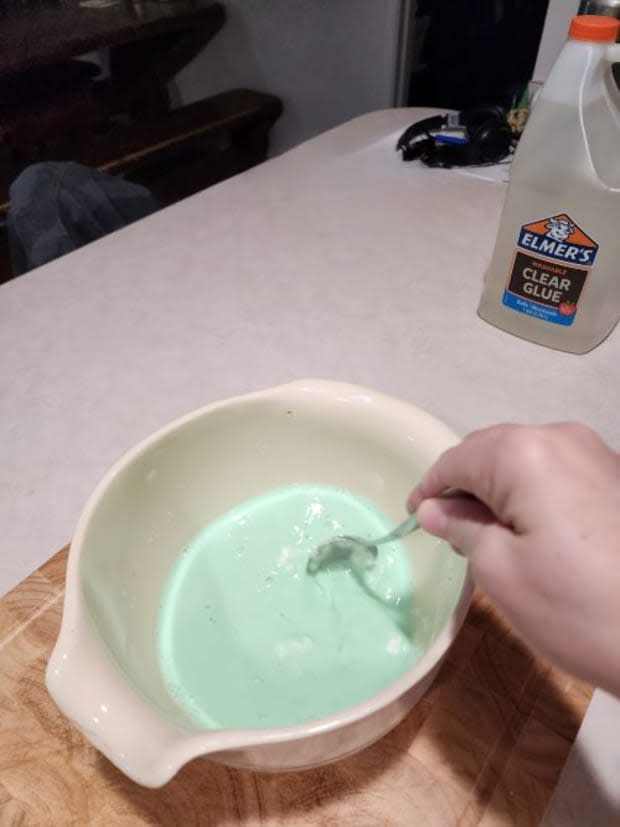
5. Pour in 1 tablespoon of the contact solution, while stirring.
6. Add in another 1 tablespoon of contact solution and continue stirring.
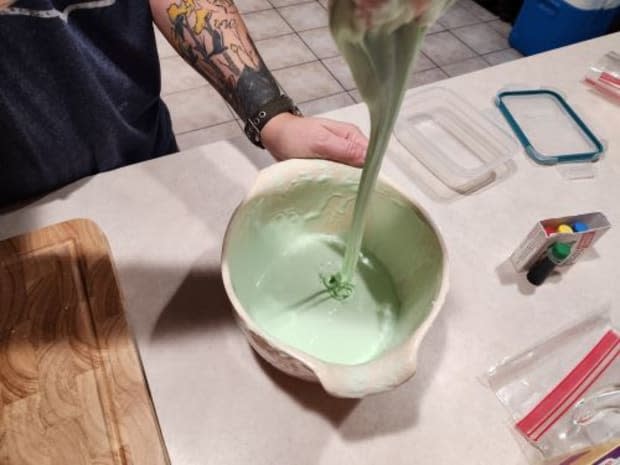
You’ll start to see the slime form, but it will be pretty sticky.

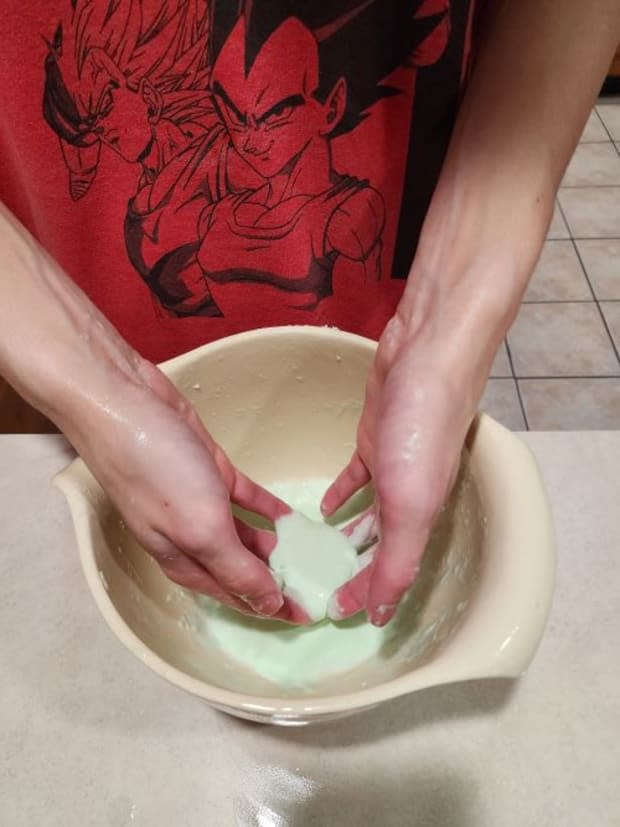
7. Add 1 more tablespoon of contact solution and begin mixing with your hands.
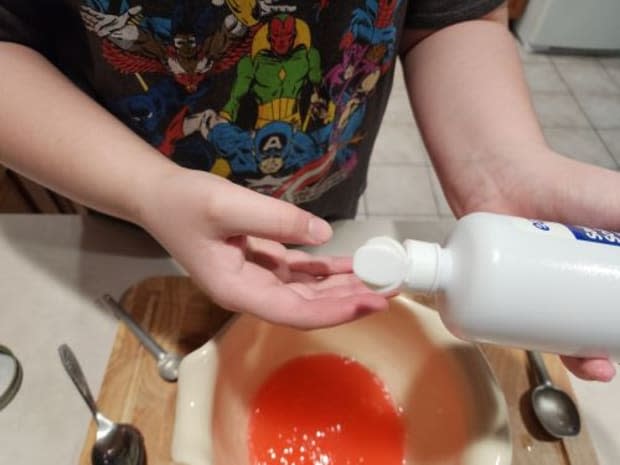
Squirt a little contact solution onto your hands before kneading to prevent sticking.
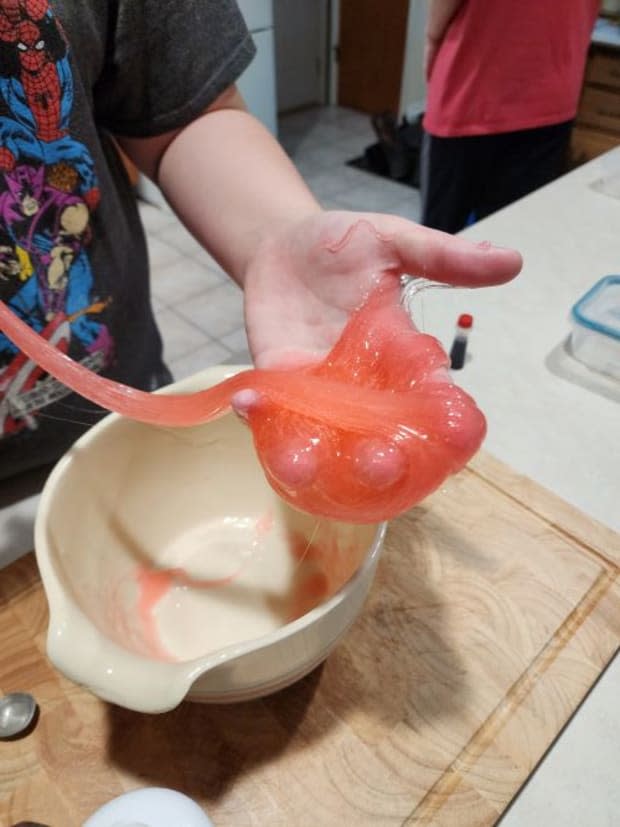

8. Knead the slime until it’s a good consistency.
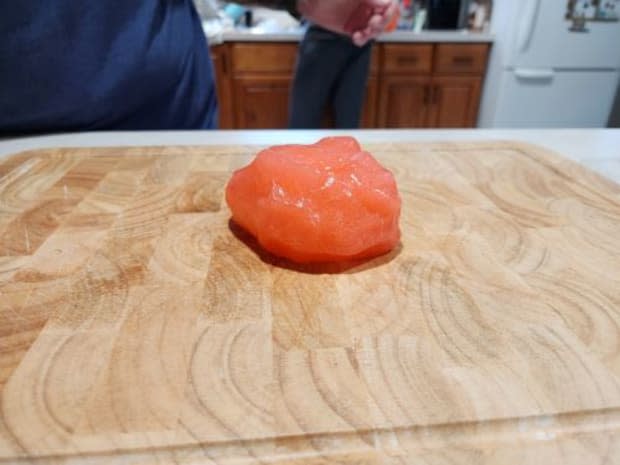
Place in a storage container or plastic bag to keep it for later.
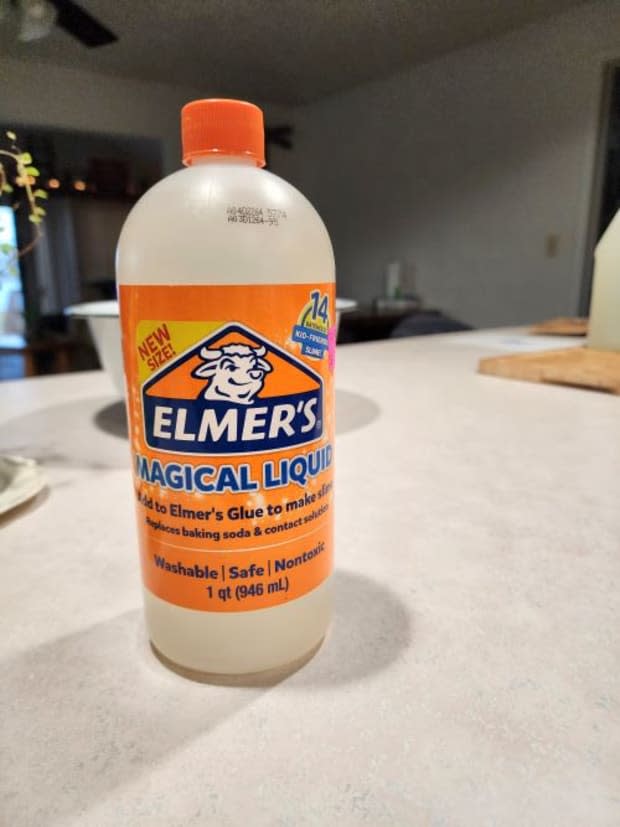
To cut out a few ingredients you can use this pre-mix solution. It takes the place of contact solution and baking soda.
Slime Without Glue
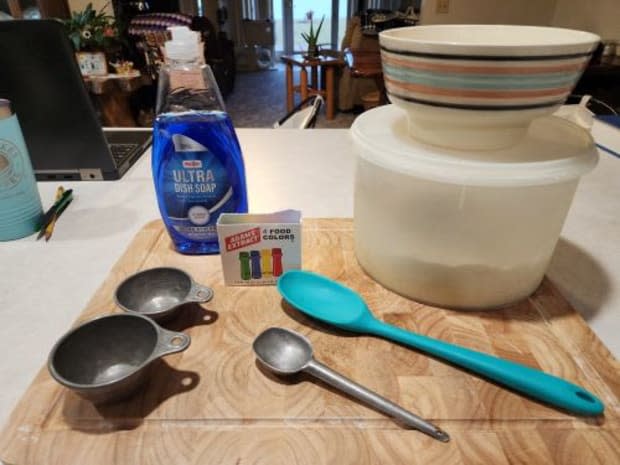
Ingredients:
1/2 cup flour
1/3 cup of dish soap
1 tablespoon of water
Food coloring, glitter etc. (optional)
Equipment:
2 measuring cups
1 measuring spoon - tablespoon
Small bowl
Spoon (for stirring)
Directions:
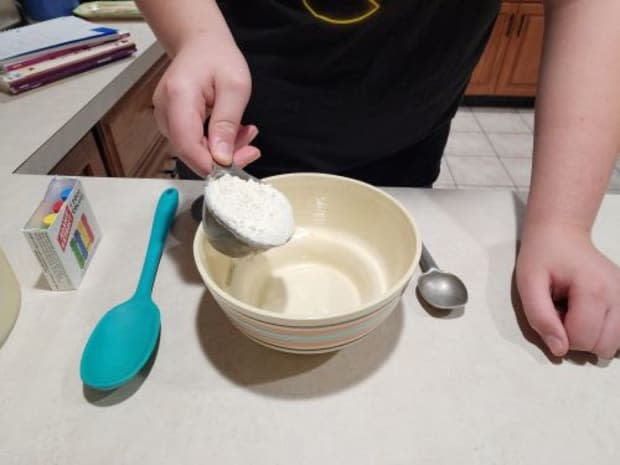
1. Measure 1/2 cup of flour and add to your bowl
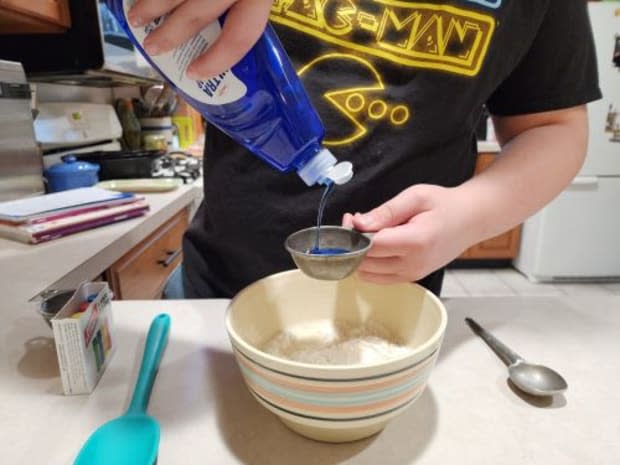
2. Add in your dish soap (1/3 cup).
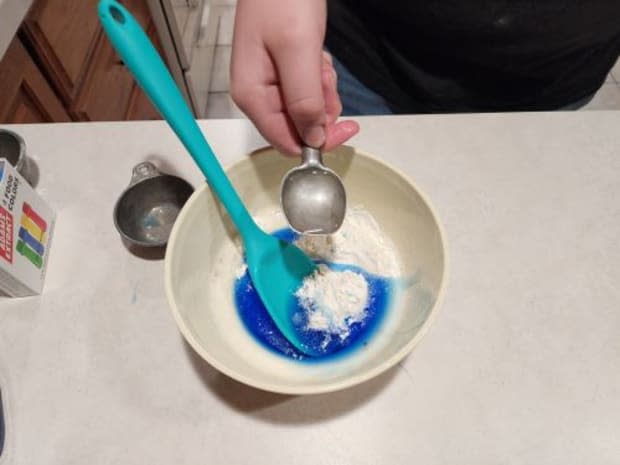
3. Add 1 tablespoon of water
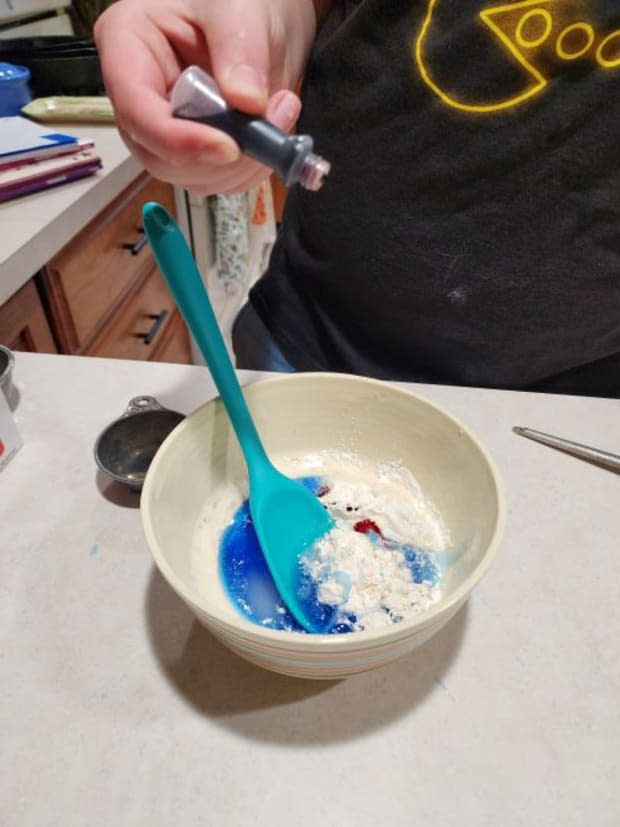
4. Add food coloring or glitter.
Food coloring would be optional because your dish soap is most likely already colored. My kids chose to use food coloring to see if they could make a different color.
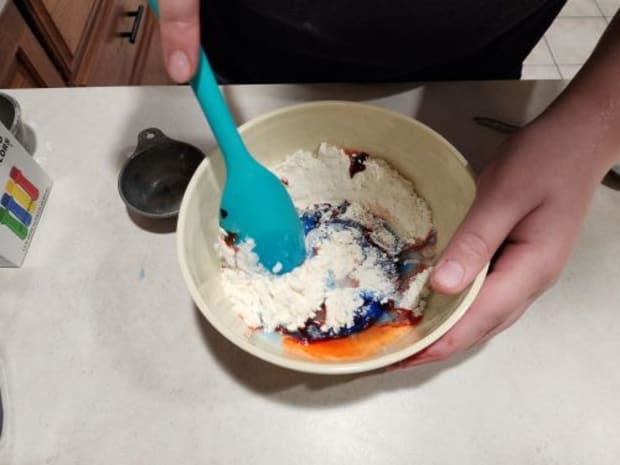
5. Mix thoroughly with a spoon.
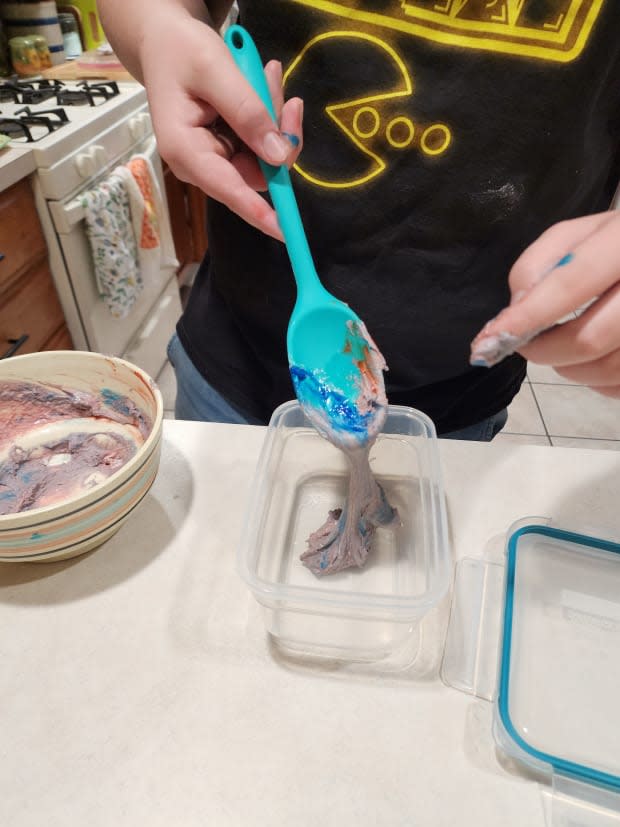
6. Once everything is incorporated, put it into a storage container and refrigerate for 2 hours before using.
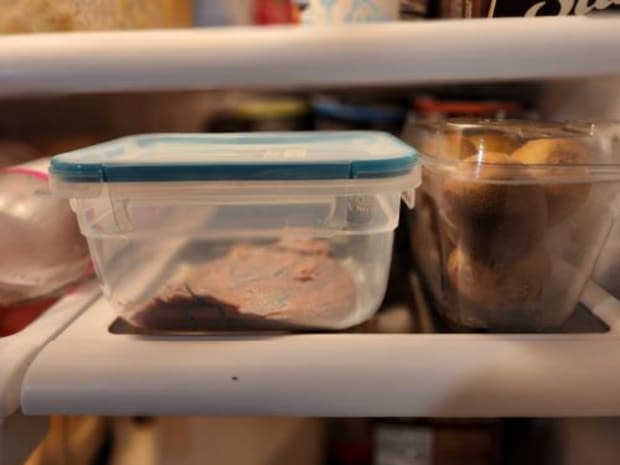
This recipe could easily be doubled or tripled depending on how many kids you are making it for. Store the final product in an air-tight container in the fridge, and it should keep well for about a week.
Here is what I learned about making slime with little kids vs. when you are making slime with teenagers—both are fun! Both are (really) messy if you allow them to help. Slime still burbles when squished just right (and yes, it is still funny!) And making slime is a fantastic hands-on way to connect with your kids—at any age!
Next, 40 Things To Do at a Sleepover for the Most Epic Overnight Party
