Valentine's Day Cheesecake Bars Recipe

"Red velvet desserts are great for Valentine's Day," says recipe developer Jessica Morone. "Their striking red color ... just makes desserts extra festive and romantic." While these bar cookies have a snowy white cheesecake layer on top, there's a vibrant, red velvet cookie crust underneath that lends them a bi-colored visual appeal that Morone says is "perfect for the holiday."
Morone assures us that these Valentine's Day cheesecake bars are "very easy to make," although she does have one caveat. It's important to make sure that you've allowed ample pre-cooking time to allow the cream cheese to come to room temperature: "If it is too cold, it will stay lumpy when you beat it," says Morone. If you forget to take the cheese out of the refrigerator before you start, she says you can warm it up in the microwave, but be sure to do so for no more than 10–15 seconds to keep it from melting.
Read more: 30 Types Of Cake, Explained
Collect The Ingredients For The Valentine's Day Cheesecake Bars
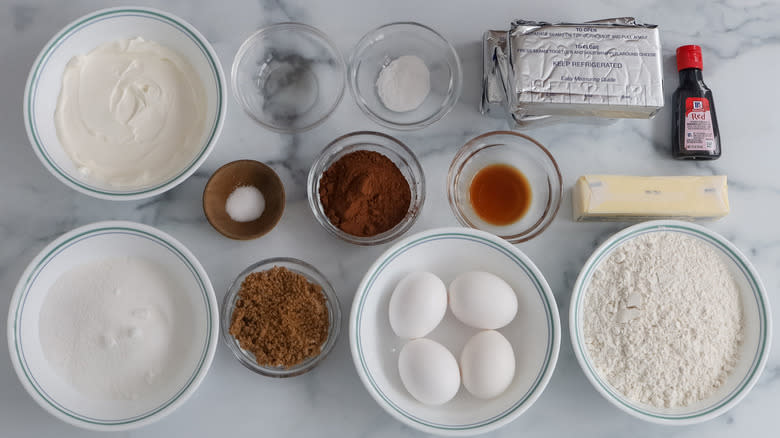
The cookie base for these bars is made of all-purpose flour, cocoa powder, baking soda, salt, butter, granulated sugar, brown sugar, eggs, vanilla extract, and red liquid food coloring. For the cheesecake top, you will also need cream cheese and sour cream.
Step 1: Heat Up The Oven
Preheat the oven to 325 F.
Step 2: Prepare A Pan
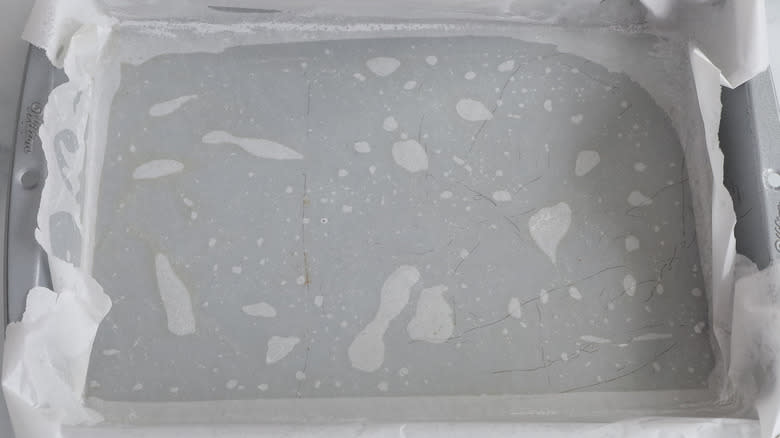
Line a 9x13-inch baking pan with parchment paper or foil sprayed with nonstick cooking spray. Set aside.
Step 3: Mix The Dry Ingredients
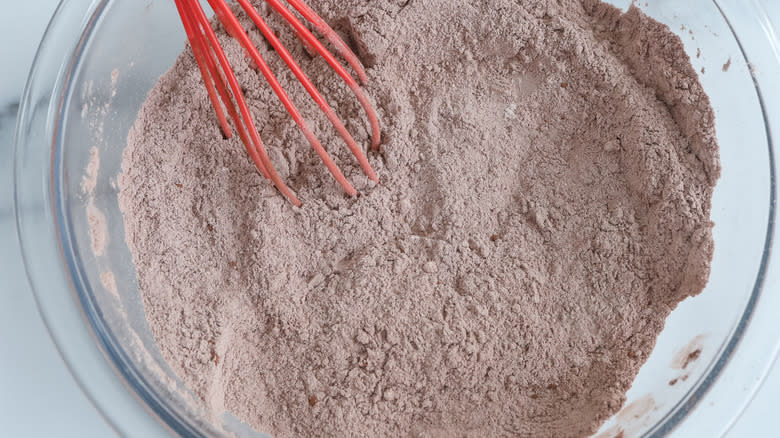
Make the red velvet layer: In a medium bowl, whisk together flour, cocoa powder, baking soda, and salt. Set aside.
Step 4: Combine The Butter And Sugars
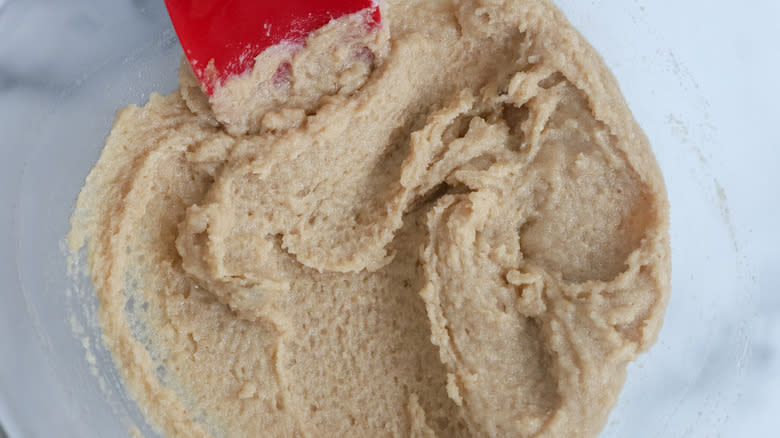
In a large bowl, cream together the butter and sugars until fluffy.
Step 5: Stir In The Egg, Vanilla, And Food Coloring
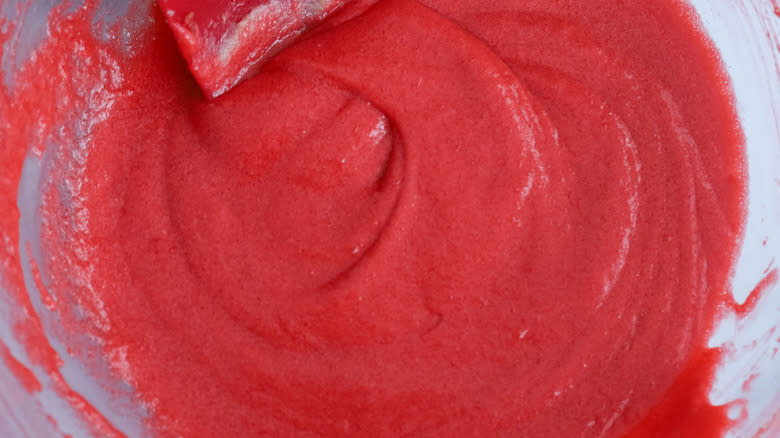
Add the egg, vanilla extract, and red coloring, and mix until combined.
Step 6: Add The Dry Ingredients To The Wet Ones
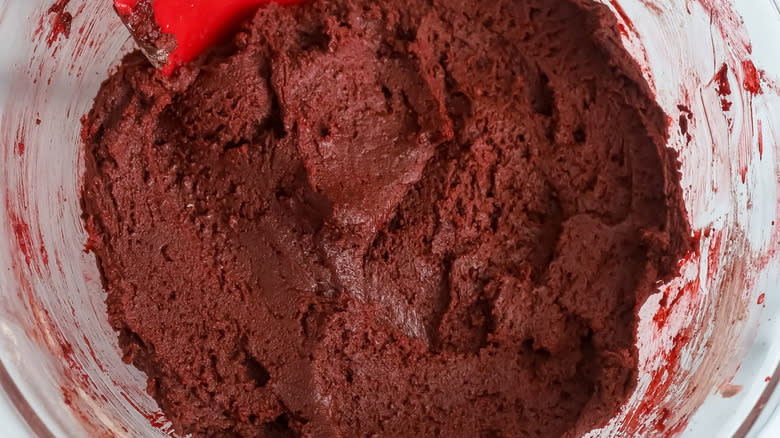
Add the dry ingredients to the bowl with the butter mixture and mix until well combined.
Step 7: Put The Cookie Dough In The Pan
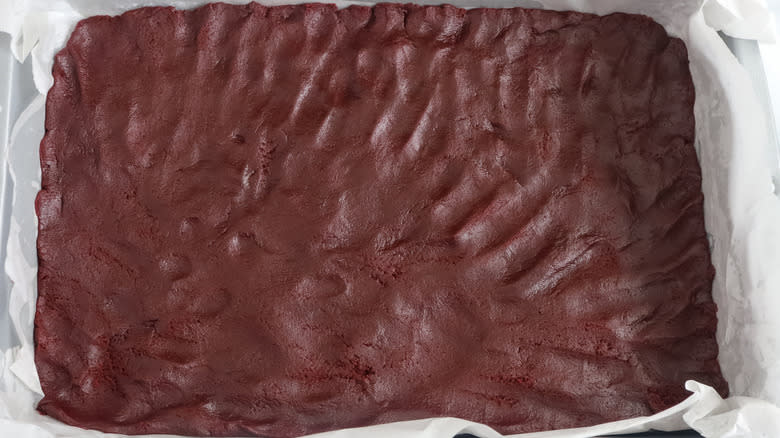
Press the batter into the bottom of the prepared pan. Set aside.
Step 8: Combine The Cheesecake Ingredients

Make the cheesecake layer: Use a stand mixer or an electric mixer to beat the cream cheese and sugar together until smooth. Add in the sour cream, eggs, and vanilla extract, and beat until the mixture is smooth and free of lumps.
Step 9: Pour The Cheesecake Batter Over The Crumb Crust
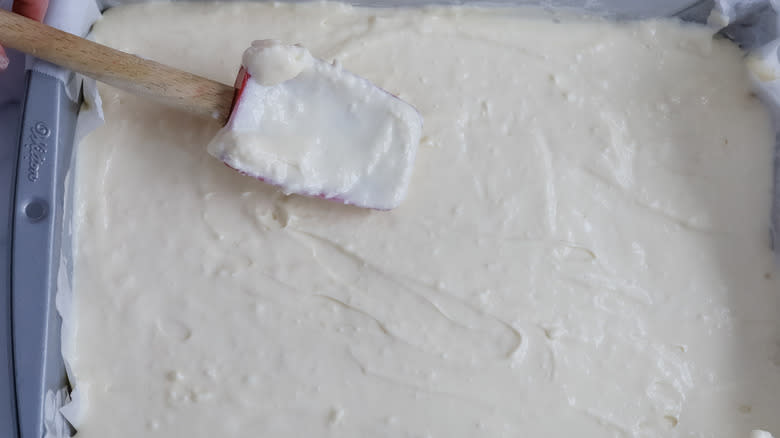
Pour the cheesecake filling over the red velvet crust.
Step 10: Bake The Cheesecake Bars
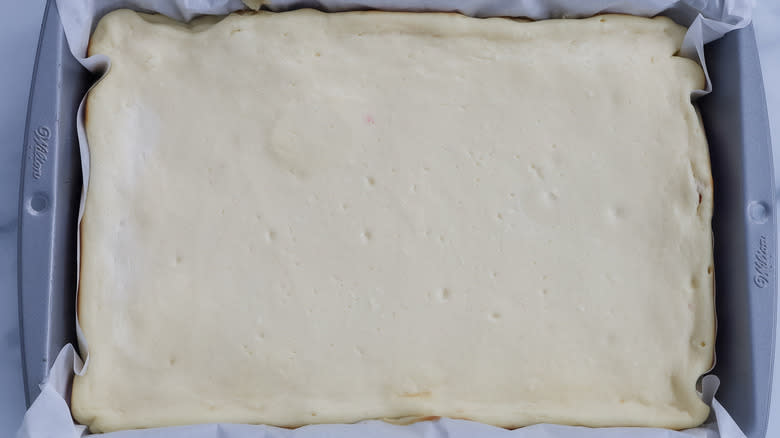
Bake in the preheated oven for 42–45 minutes, until the center is set. Remove from the oven, cool to room temperature, and then refrigerate for at least 2 hours.
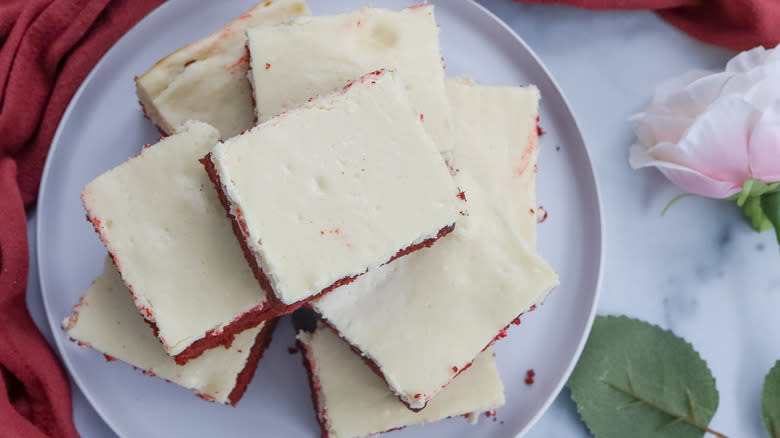
Step 11: Cut The Cheesecake Bars Into Squares

Once chilled, cut into squares and serve.
What If I Don't Want To Use All That Food Coloring For These Valentine's Day Cheesecake Bars?

As Morone says, "The red velvet color [in these cheesecake bars] comes from using a lot of red food coloring." While artificial coloring in food is generally regarded as safe, there are some who would prefer to avoid it. If you have concerns, Morone does note that some recipes call for natural food dyes, such as those made from beets. Although, she tells us, "I haven't tried it before," so she can't speak to what type of coloring these dyes produce, or how they affect the final texture of the dish.
One easy option, though, is to omit the food coloring entirely. Instead of red velvet, what you will then have is a chocolate cookie base. The cookies may not look quite as visually striking, although you will still get the contrast between the dark bottom layer and the pale cheesecake top. Morone assures us that the bars "will still taste delicious." If you feel that these bar cookies alone aren't sufficiently Valentine's-y, you can always go to town with red sprinkles, candy hearts, and more to decorate them for the occasion.
How Can I Store The Valentine's Day Cheesecake Bars?
While many types of cookies can be stored at room temperature, it's not safe to do so with these Valentine's Day cheesecake bars. "Because of the cream cheese in these," says Morone, "you will want to store these in the fridge." They'll only last for 3 days, though, so if you do want to make these as a Valentine's Day dessert, you cannot prep them too far in advance.
If you find yourself with a bunch of leftover bar cookies -– this recipe makes 16 of them, after all -– you do have one other option if you can't manage to finish them off within that 3-day time frame. Morone tells us that you can freeze them, cheesecake and all, although she recommends wrapping them in foil and then in a resealable plastic bag before you do so. The bars can then be thawed and allowed to reach room temperature if you wish, but you can always just eat them as-is (because frozen cheesecake is delicious).
Valentine's Day Cheesecake Bars Recipe

Prep Time: 2h 15mCook Time: 42mYield: 16 piecesIngredients
:::For the red velvet layer:::
2 cups all-purpose flour
¼ cup unsweetened cocoa powder
1 teaspoon baking soda
¼ teaspoon salt
8 tablespoons (one stick) unsalted butter, softened
¾ cup granulated sugar
¼ cup brown sugar
1 large egg
2 teaspoons vanilla extract
1 tablespoon red liquid food coloring
:::For the cheesecake layer:::
24 ounces cream cheese (softened)
¾ cup granulated sugar
¾ cup sour cream
3 large eggs
1 teaspoon vanilla extract
Directions
Preheat the oven to 325 F.
Line a 9x13-inch baking pan with parchment paper or foil sprayed with nonstick cooking spray. Set aside.
Make the red velvet layer: In a medium bowl, whisk together flour, cocoa powder, baking soda, and salt. Set aside.
In a large bowl, cream together the butter and sugars until fluffy.
Add the egg, vanilla extract, and red coloring, and mix until combined.
Add the dry ingredients to the bowl with the butter mixture and mix until well combined.
Press the batter into the bottom of the prepared pan. Set aside.
Make the cheesecake layer: Use a stand mixer or an electric mixer to beat the cream cheese and sugar together until smooth. Add in the sour cream, eggs, and vanilla extract, and beat until the mixture is smooth and free of lumps.
Pour the cheesecake filling over the red velvet crust.
Bake in the preheated oven for 42–45 minutes, until the center is set. Remove from the oven, cool to room temperature, and then refrigerate for at least 2 hours.
Once chilled, cut into squares and serve.
Read the original article on Tasting Table.

