How Adobe Lightroom’s new AI tools can transform your photos
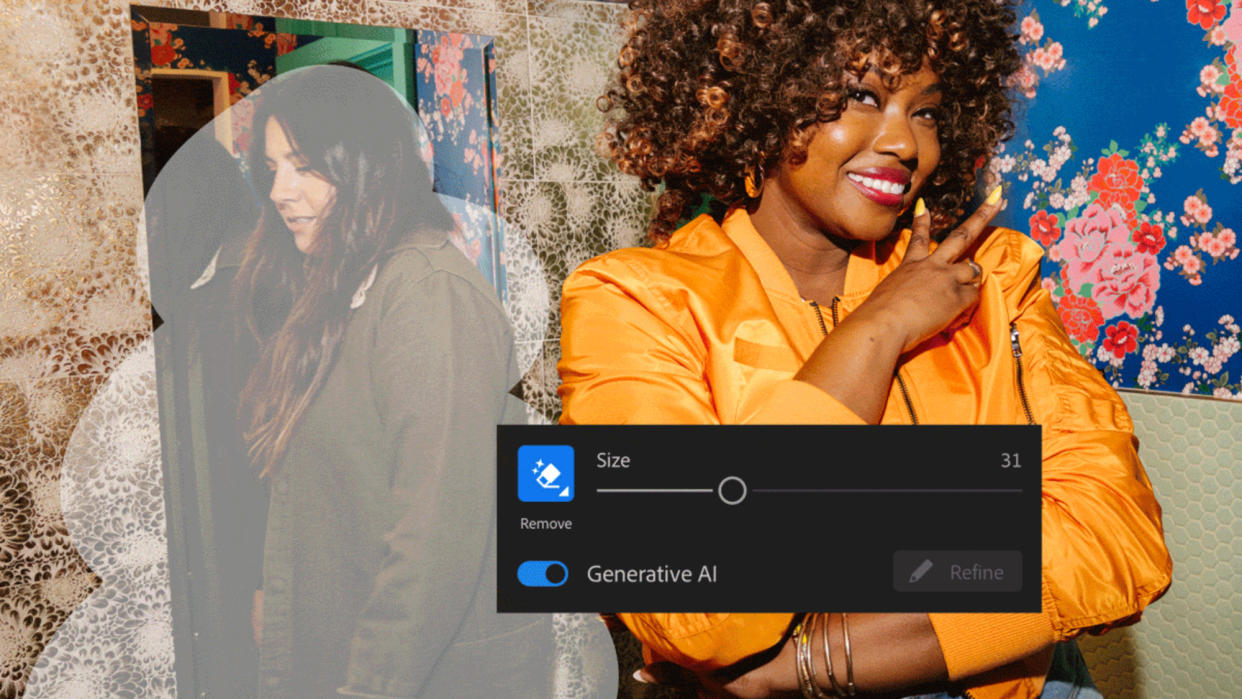
Software makers haven’t held back when it comes to adding AI to their tools. And Image creation and image editing is at the forefront of the latest AI revolution in tech. With the help of a few smart algorithms, anyone can now create a picture from nothing, or apply advanced edits to a photo with a few clicks or text prompts. Adobe is keen not to be left behind, and has recently rolled out new AI features in its Lightroom application—that’s the program that combines photo organization with editing tools (as opposed to Photoshop, which is focused completely on advanced photo editing). You can get it from Adobe, with Photoshop, for $9.99 a month. The features we’re going to talk you through here are available in both the new Lightroom version and Lightroom Classic, as well as the mobile apps. They build on the Lightroom AI tools we wrote about last year, enabling you to change out parts of your images and apply quick fixes with the help of AI. Generative Remove: Take out objects and people Paint over parts of an image, and generative AI will take over. Screenshot: Adobe Never worry about anyone (or anything) photobombing your carefully crafted images again: The Generative Remove tool will use clues from elsewhere in an image (like the color of the sky or the pattern on a wallpaper), as well as some smart AI image generation, to paint over a part of your image that you don’t want to see. In Lightroom, click the Remove tool on the right (which looks like an eraser), then adjust the Size of your brush via the slider that appears. Make sure Generative AI is selected, then paint over the part of the picture you want removed. The next screen lets you refine your selection. If you need to—use the Add and Subtract buttons to increase or decrease the number of pixels selected. When you’re happy with what’s selected, click Apply to let the AI get to work. The AI has created some new water and rock imagery in the center. Screenshot: Adobe You should hopefully then get something painted in that matches the surroundings—rocks, sky, water, or whatever it is. You can use the Variations arrows on the right to work through different options provided by AI. If it’s not quite right, try covering more or less of the image with your selection. A bit of trial and error is required, and Adobe has labeled this as an “early access feature,” suggesting it’s not quite in its finished form yet. Sometimes the AI can get too creative and introduce new elements you don’t want, but you can always try again by clicking the Refresh button to get some new variations. You’ve still got the standard Remove tool to fall back on, if needed, without the Generative AI enhancements. This will simply fill in the gaps created in your image using the data that’s already present (such as sky or foliage patterns)—it won’t use new content invented by AI, and it may still work better for smaller areas. Lens Blur: Get a professional-looking background Lightroom is now better at applying background blur. Screenshot: Adobe If you know what you’re doing with a digital camera and editing software, you can get a lens blur behind the main subject of your shot. If you don’t, you can use AI—you’ll end up with your subject in sharp focus and everything behind them looking more hazy. This is actually an existing Lightroom feature that’s been enhanced by AI algorithms. These algorithms are responsible for picking out the main subject of your picture, and working out where the foreground ends and where the background begins (crucial if you want the final result to look great). To use Lens Blur, click the Edit button in the right-hand toolbar (the one that looks like three sliders), then scroll down to the Lens Blur section and check the Apply box. After a few seconds of thinking, you’ll be presented with the tweaked shot, and you can refine the effects further using the options on the right. You can also bring up presets for your Lens Blur. Screenshot: Adobe Those options let you adjust the depth of field, so you can choose how much blur is applied to the background. There are also different bokeh effects that you can switch between, altering the way light is handled, as well as tools for manually adding or subtracting from the areas where the blur effect is applied. Along with the Lens Blur upgrade, Adobe has also added new Lens Blur Adaptive Presets in Lightroom. These make it even easier to apply effects, with fewer clicks required. Some AI data crunching is used to determine the best settings for the background blur, and you can then click between options. Select the Presets button on the right (the two circles), then choose Premium and Adaptive: Blur Background to see what’s available. In each case, you’ll see the blur settings values change in the side panel, and you can adjust the overall strength of the presets using the sliders that pop up.

